|
Traditional Leading |
|
|
|
Traditional Leading |
|
These notes were compiled from notes written by Karen Goldschmidt and Dafydd Wyn Evans when we attended a course on "Stained Glass - Traditional Leading and Copper Foiling" given by Paul San Casciani at West Dean College in February 2002.

| 
|
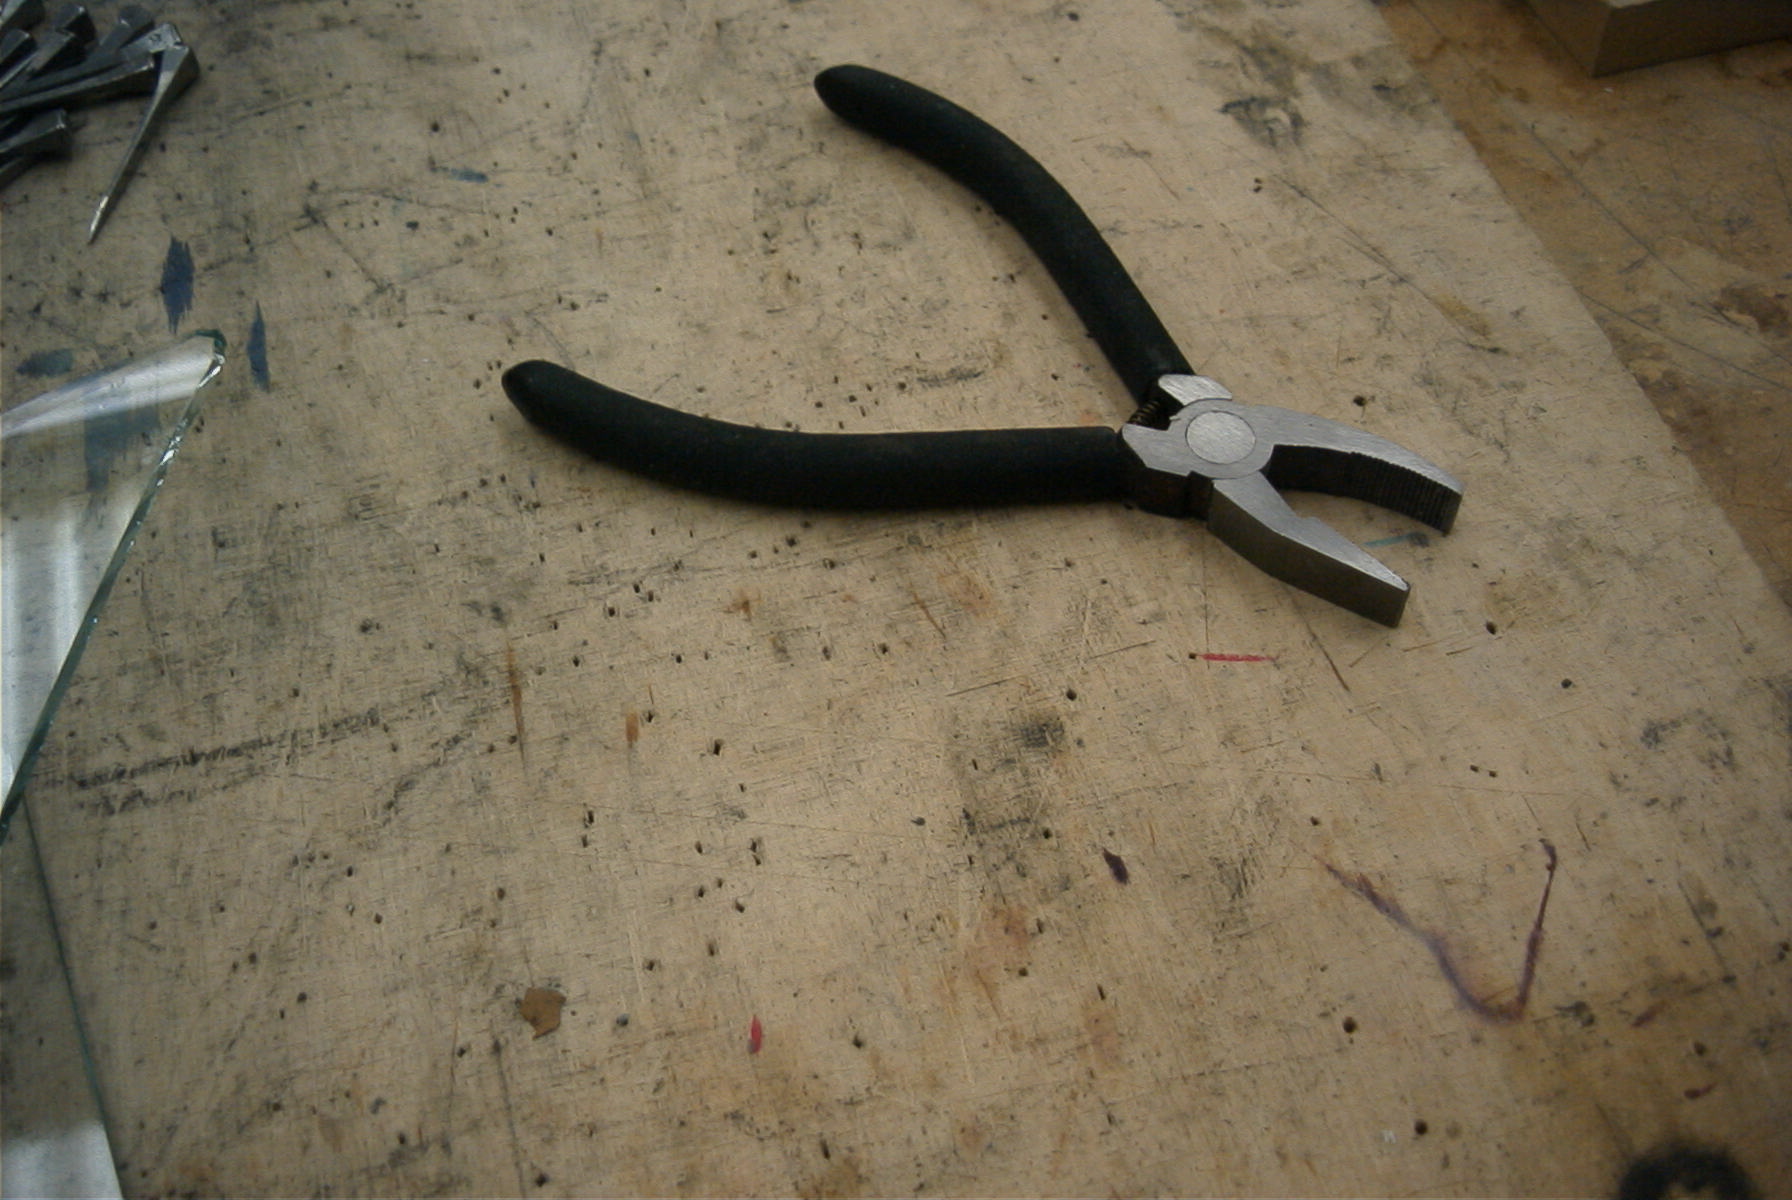
| Glass cutter These are much better than a standard glass cutter and have a reservoir of oil in the handle. They are also much more expensive and difficult to obtain. | Grozing pliers Used to trim the more difficult cuts and correct mistakes. |
| 
|
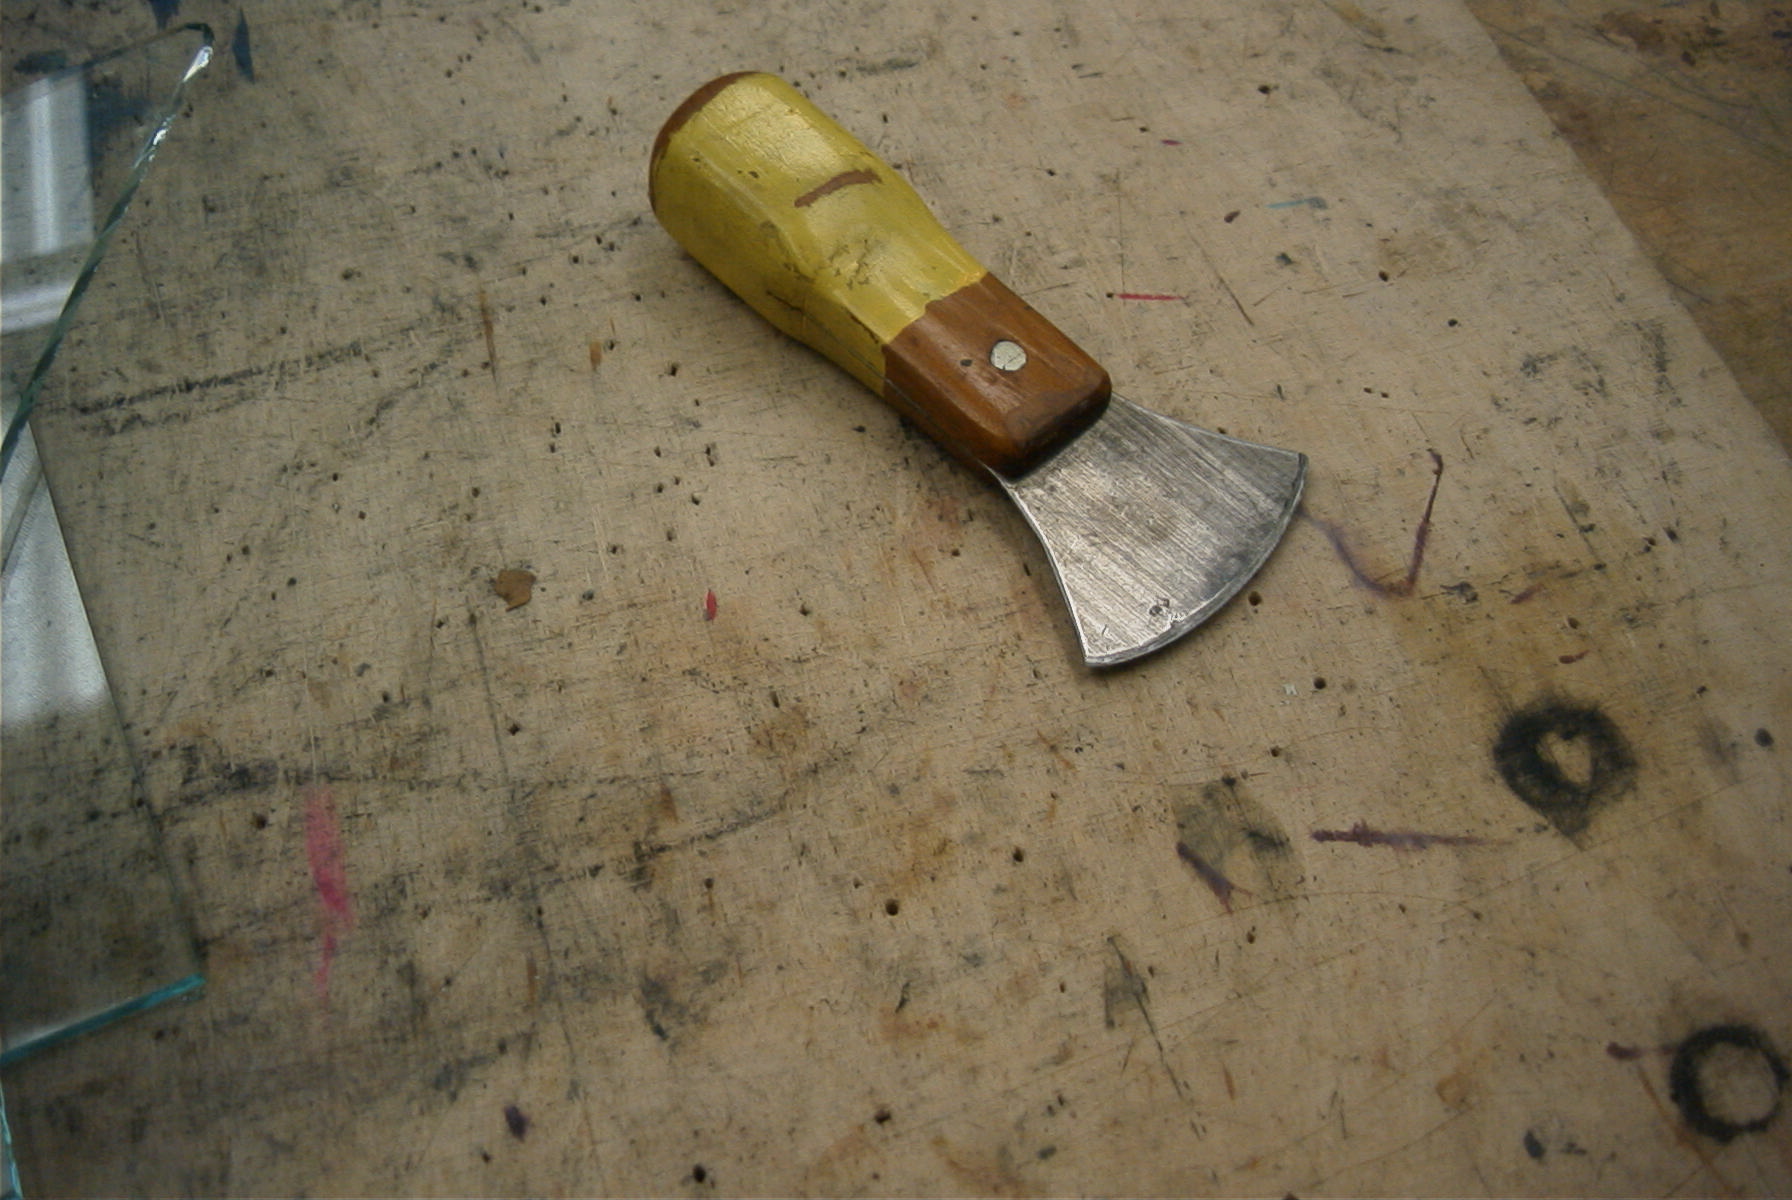
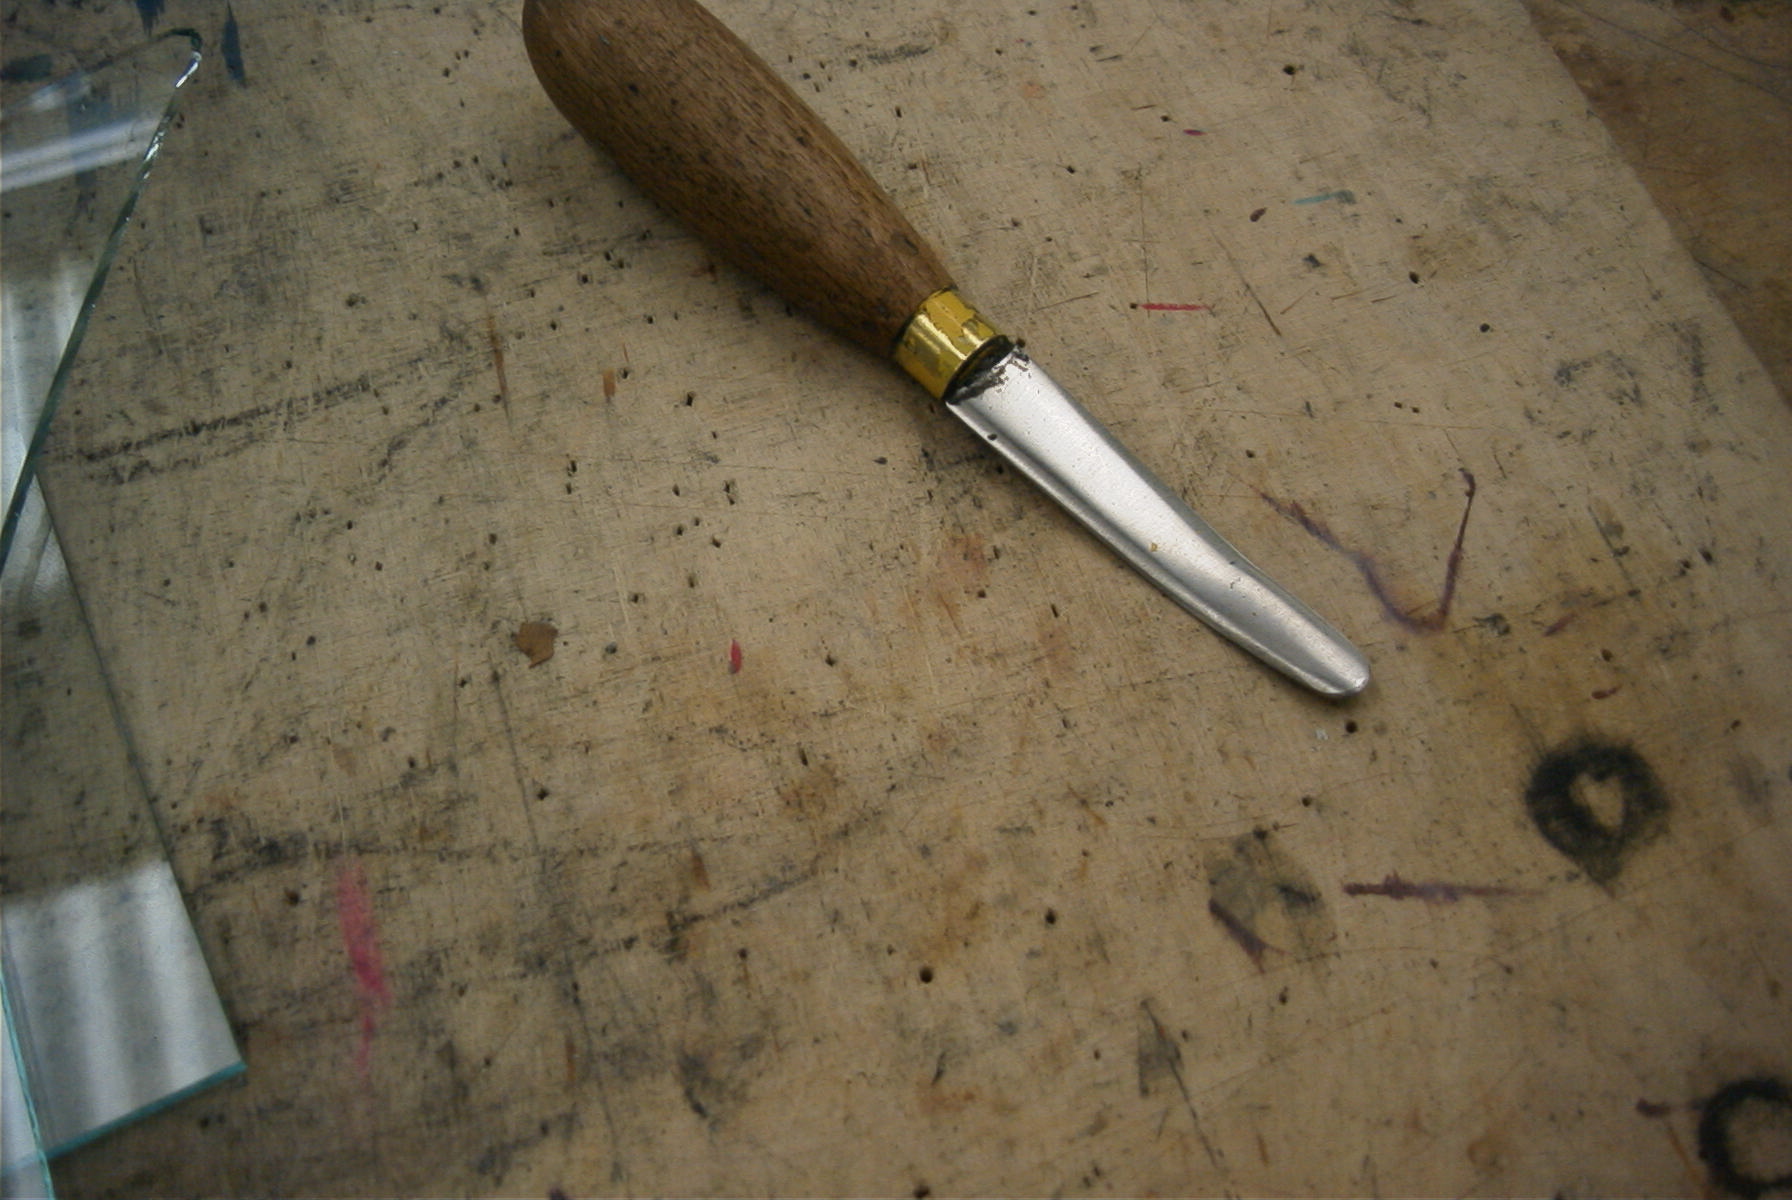
| Lead cutter One of the students used a Stanley knife and claimed it was easier to use. | Oyster knife Used to dress and manipulate the lead |
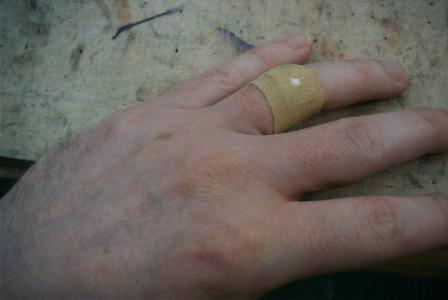
Pieces of glass will get every where, so protect your eyes. Also make sure that you cut the glass somewhere suitable (ie. not the kitchen).
After you have cut the glass, blunt the edges by scraping them against each other.
|
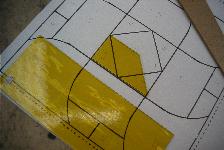
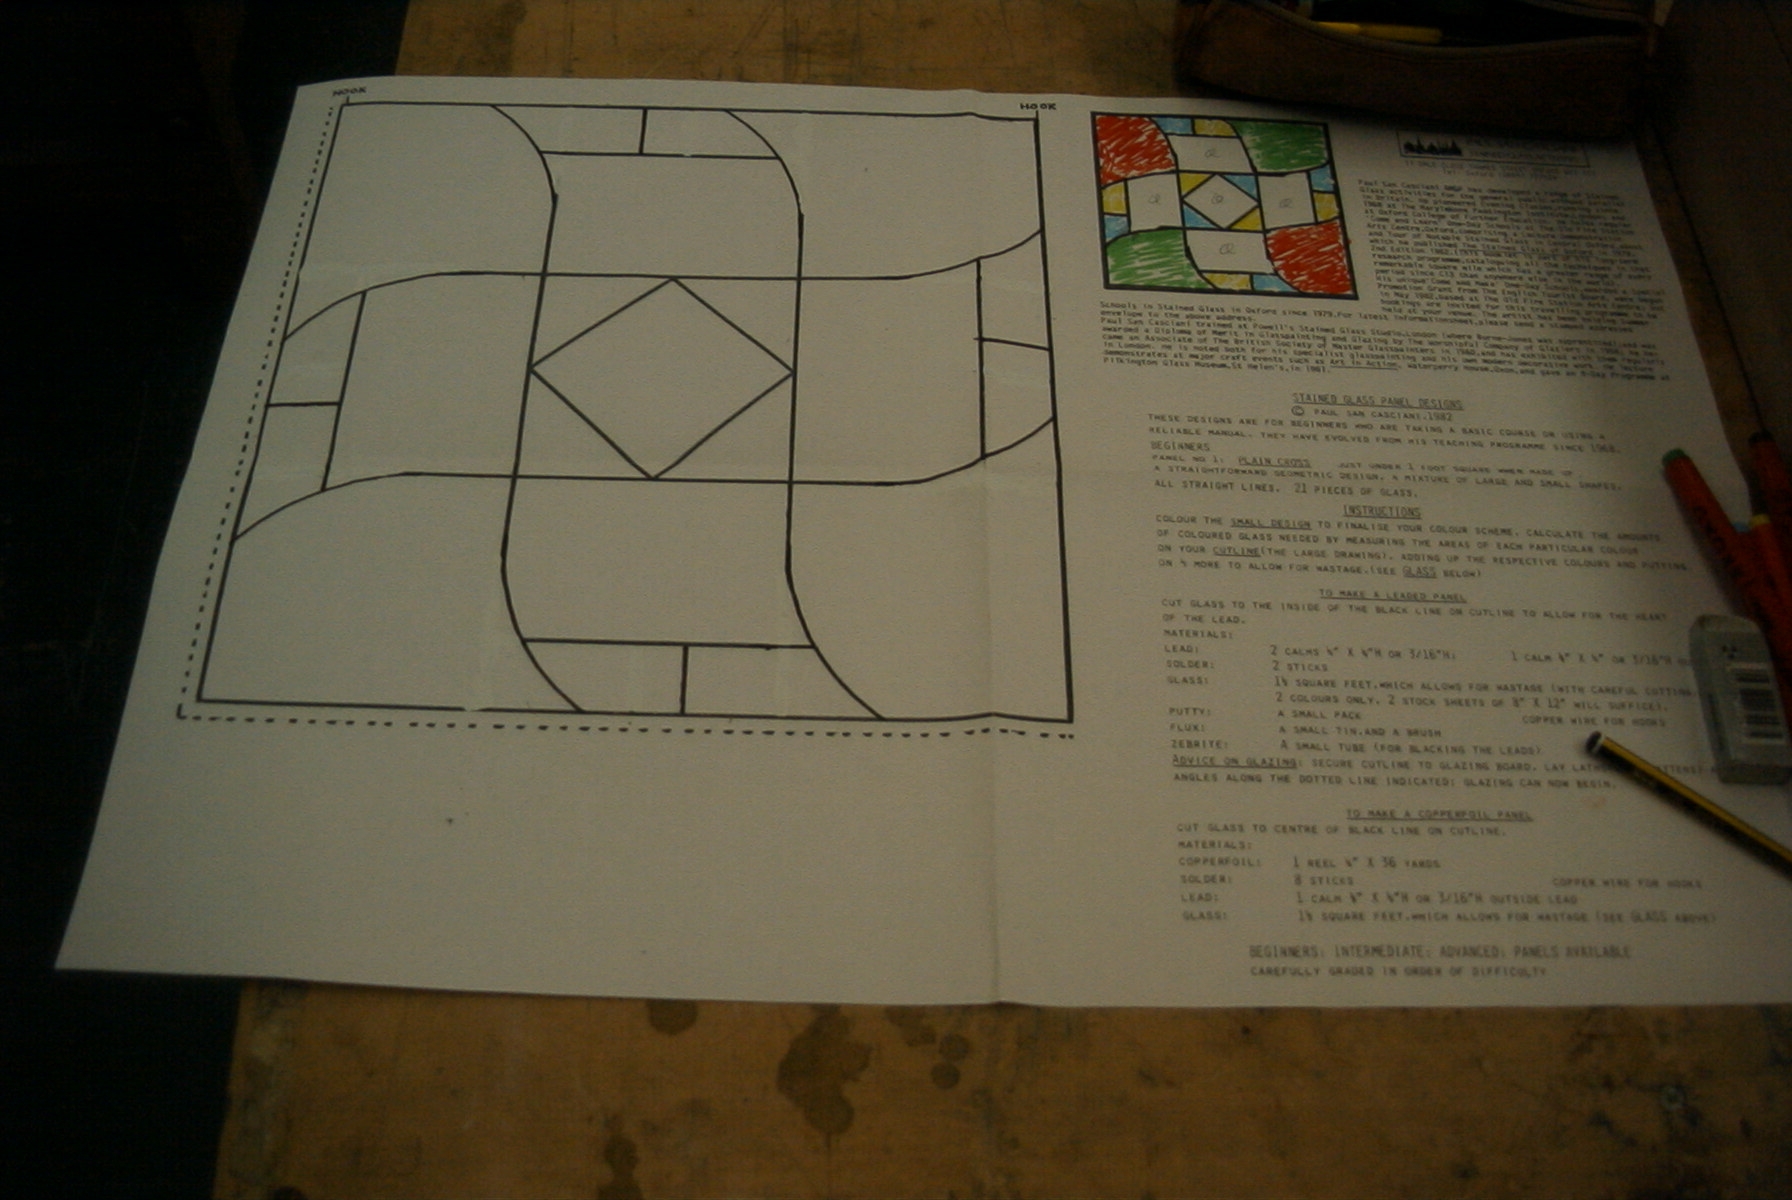
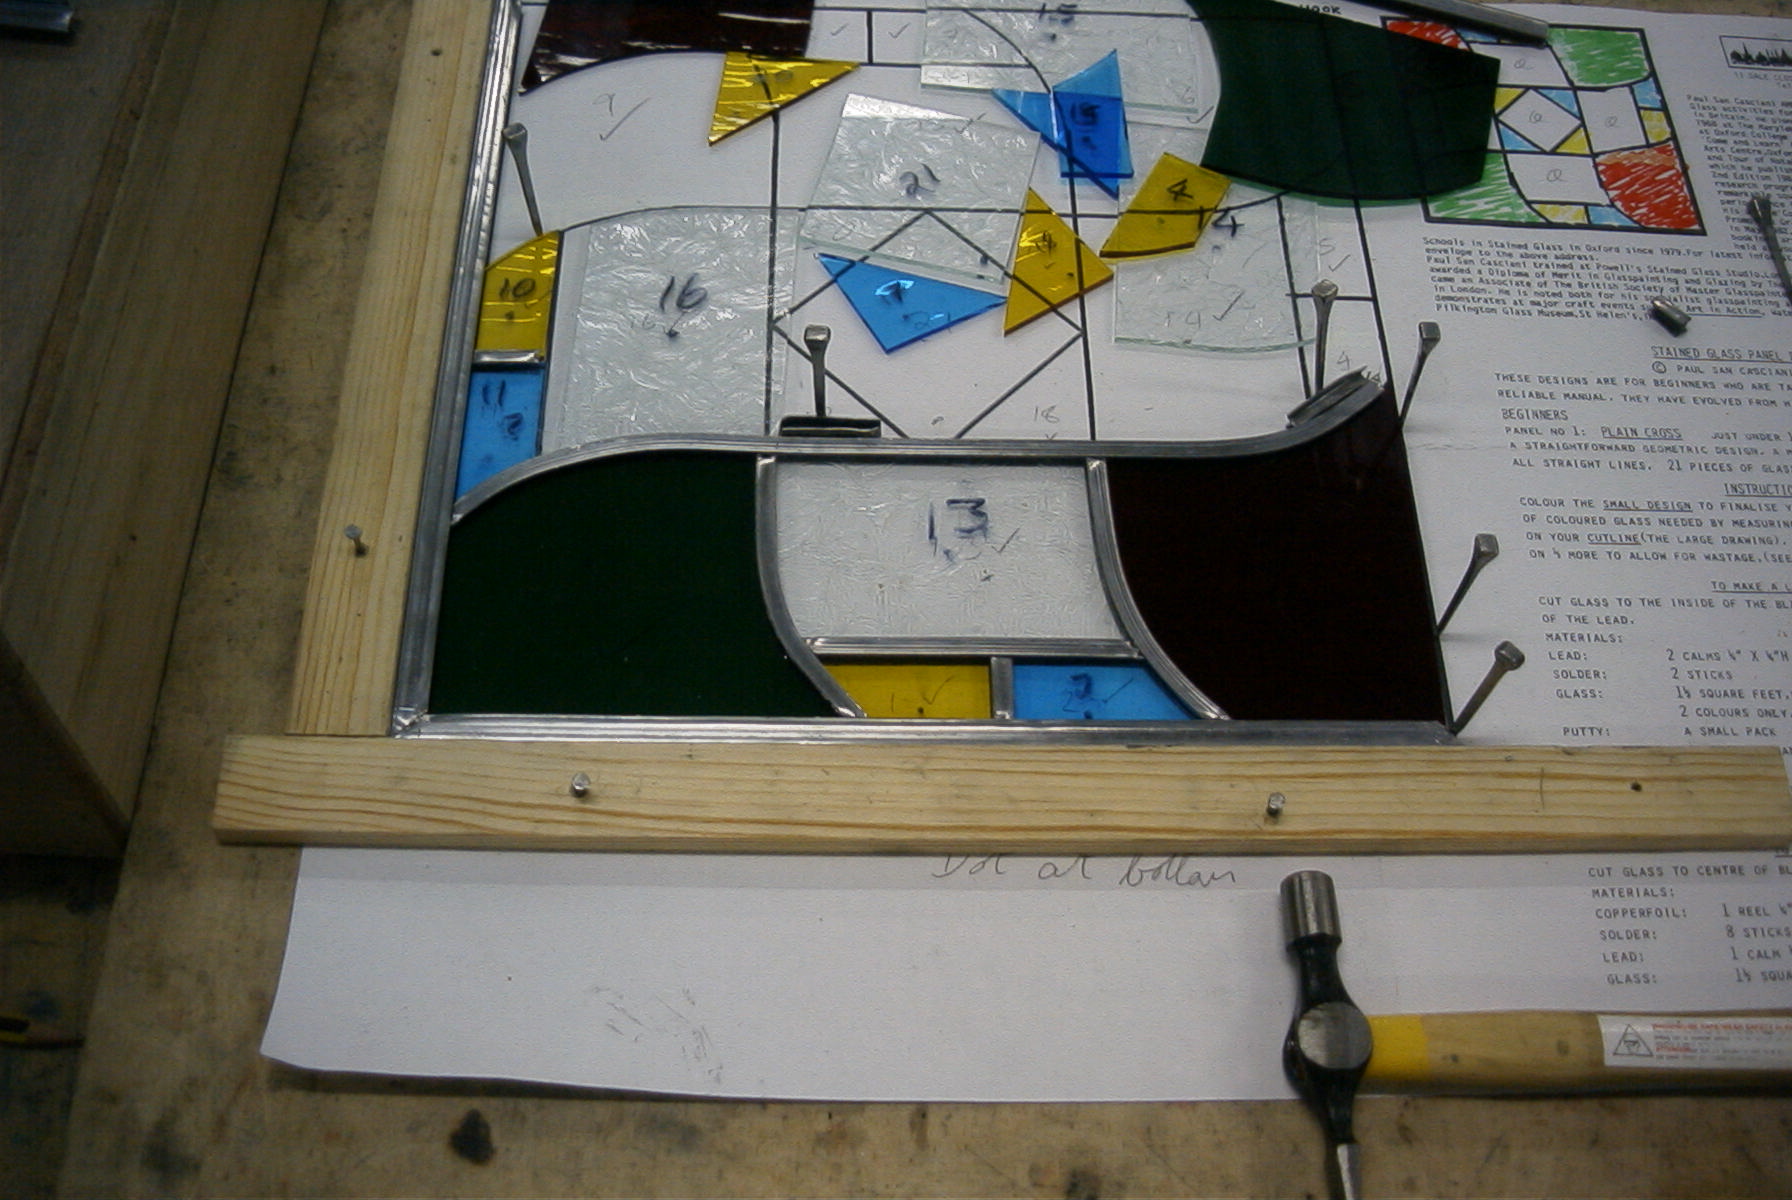
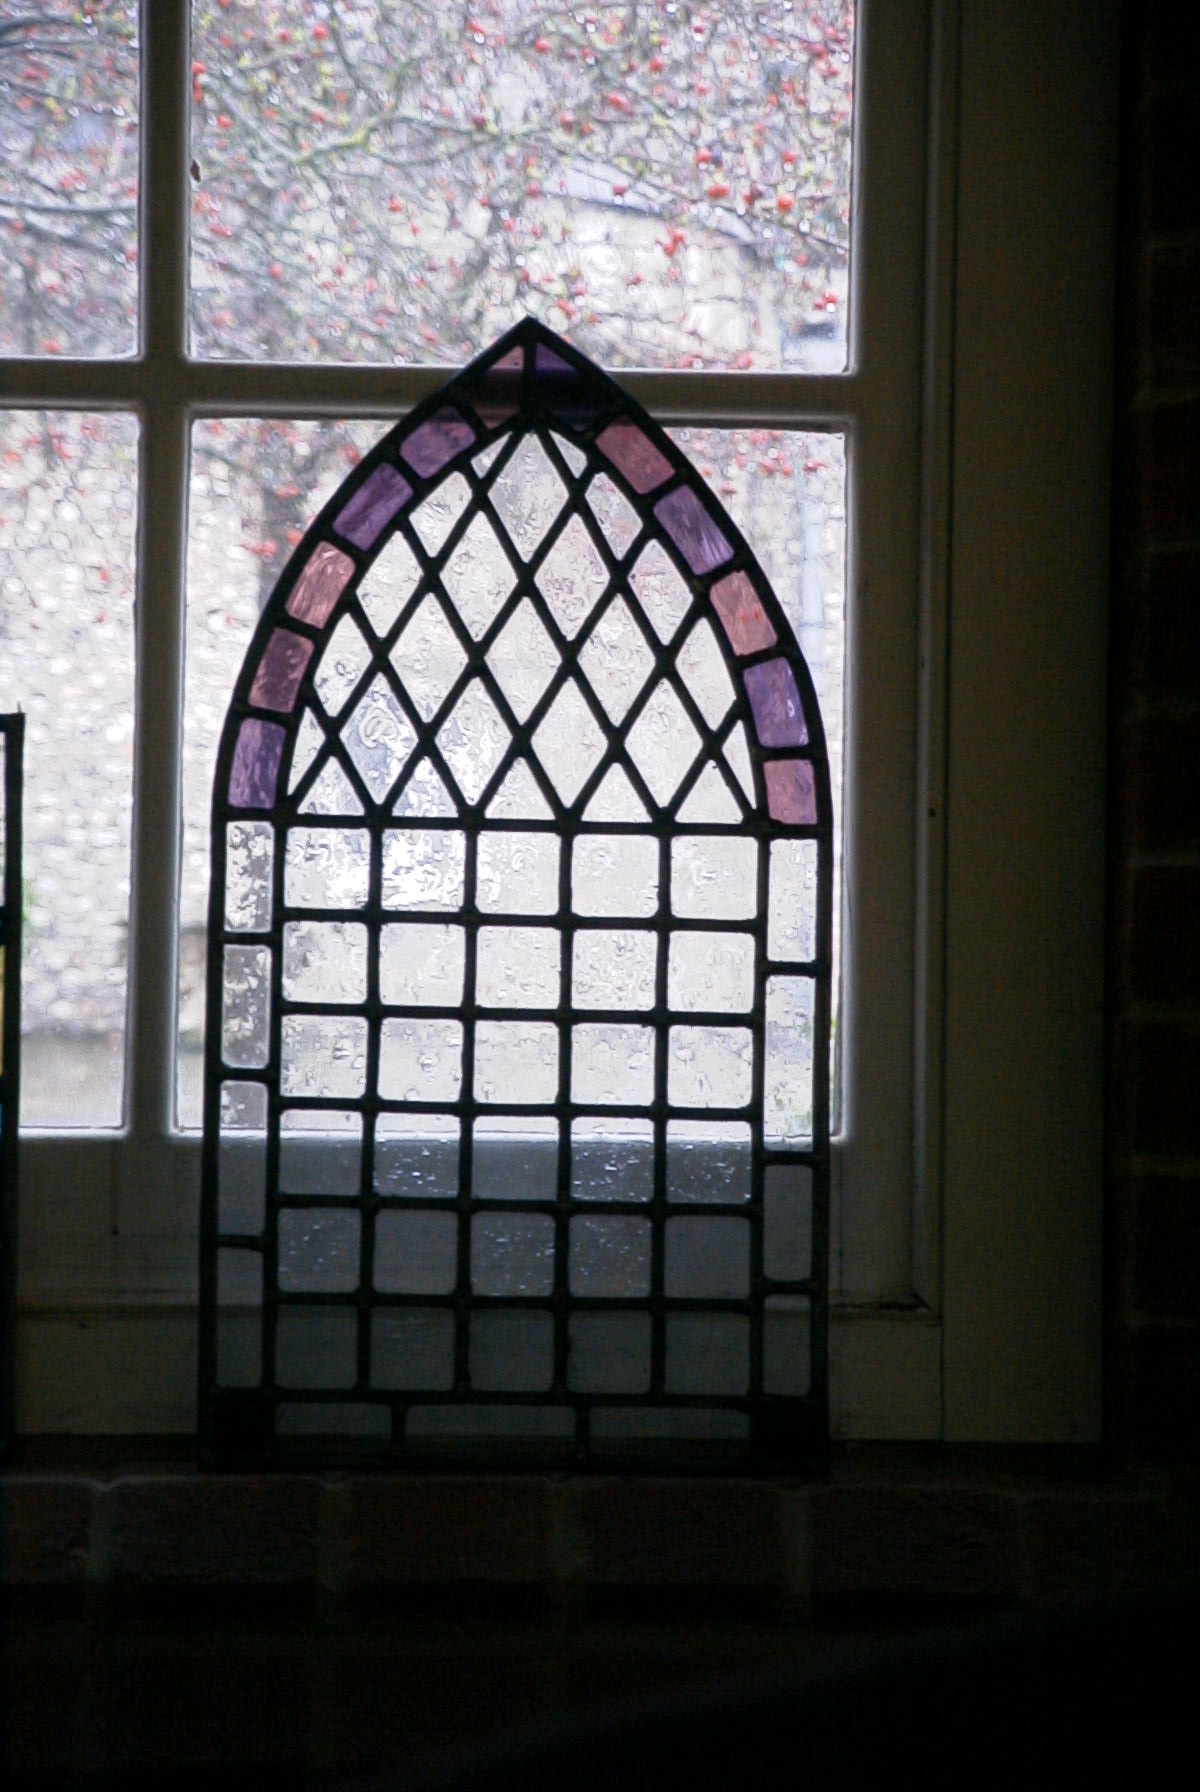
Draw the overall design with lines the same thickness as the width of the
face of the lead. This version is also the coloured one.
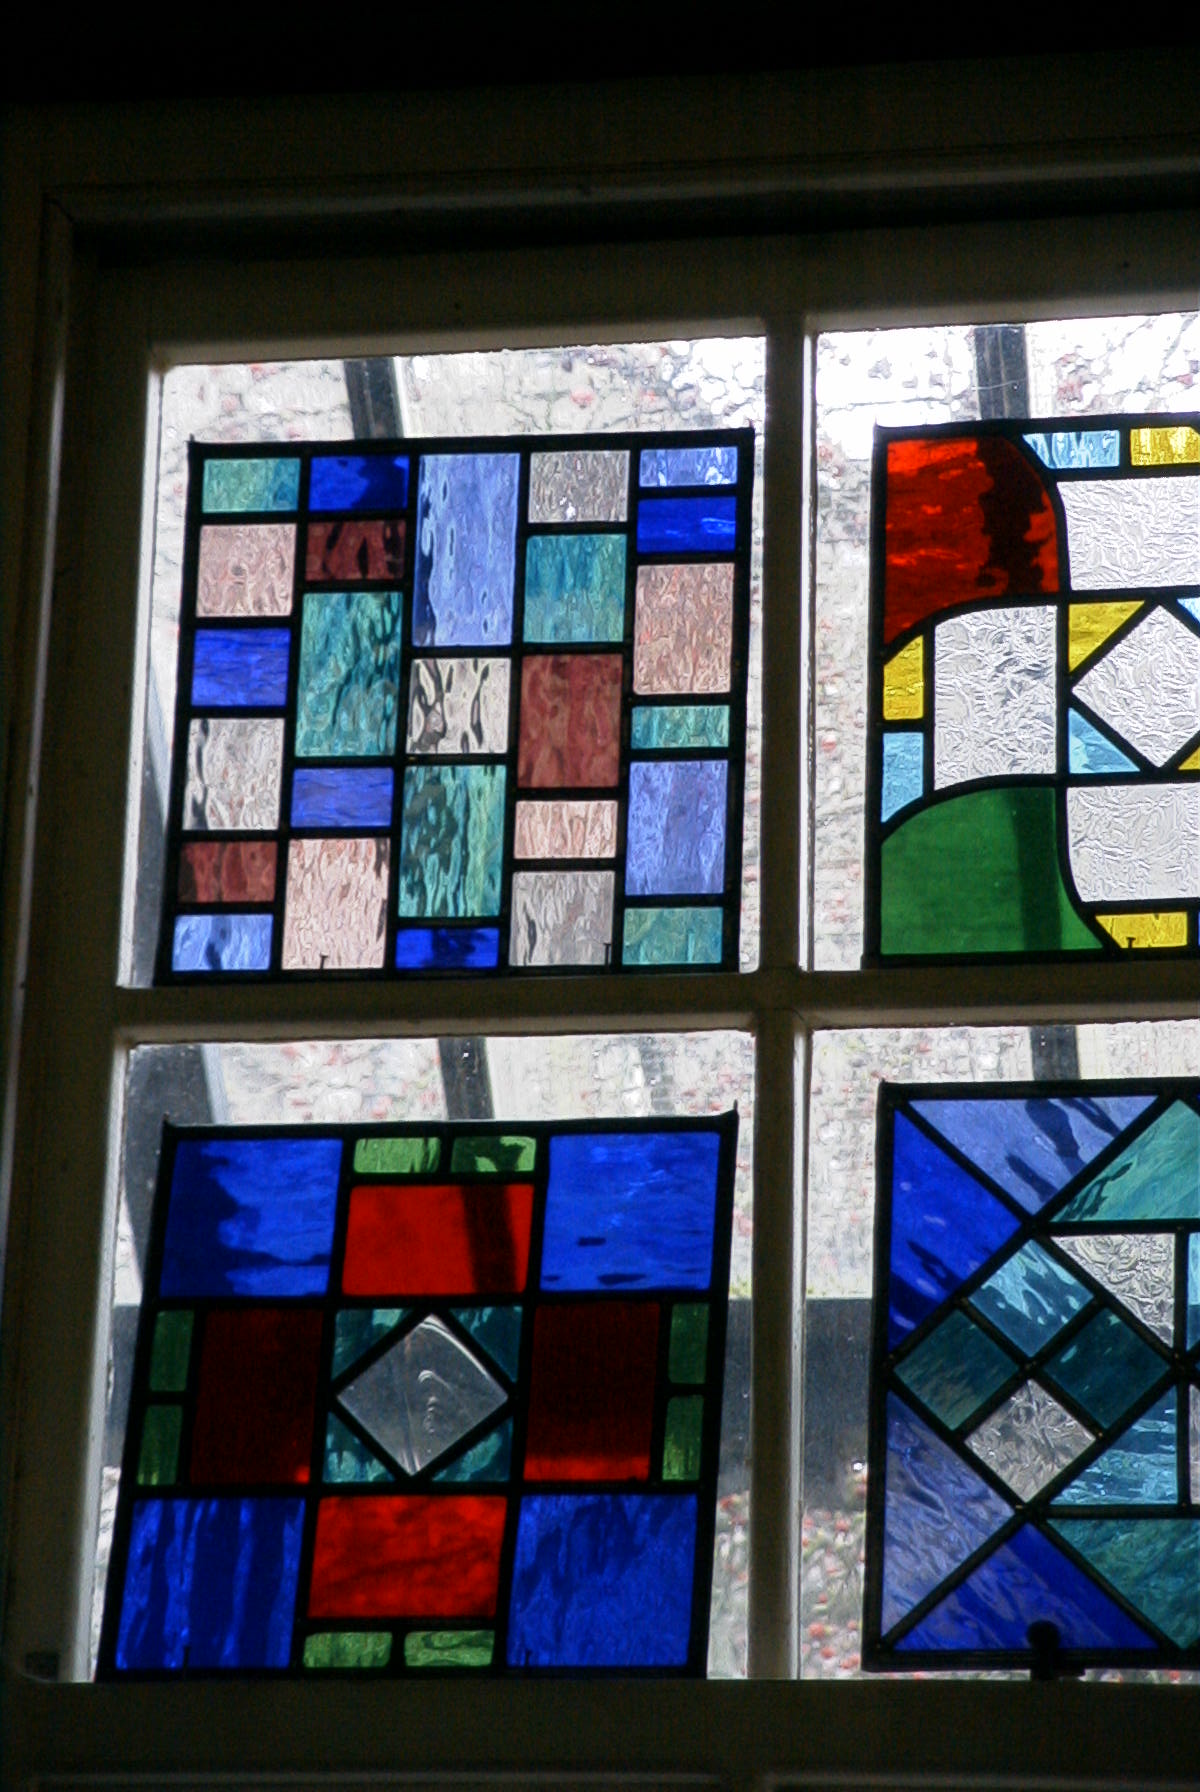
Then draw a cut lines version (no colouring in) with line thicknesses of about 3 mm, the same width as the heart of the lead. When cutting the glass, cut to inside these of cut lines. A note about choice of colours: blue recedes, red advances. After about 3 foot height of glass, you will require support. |

|
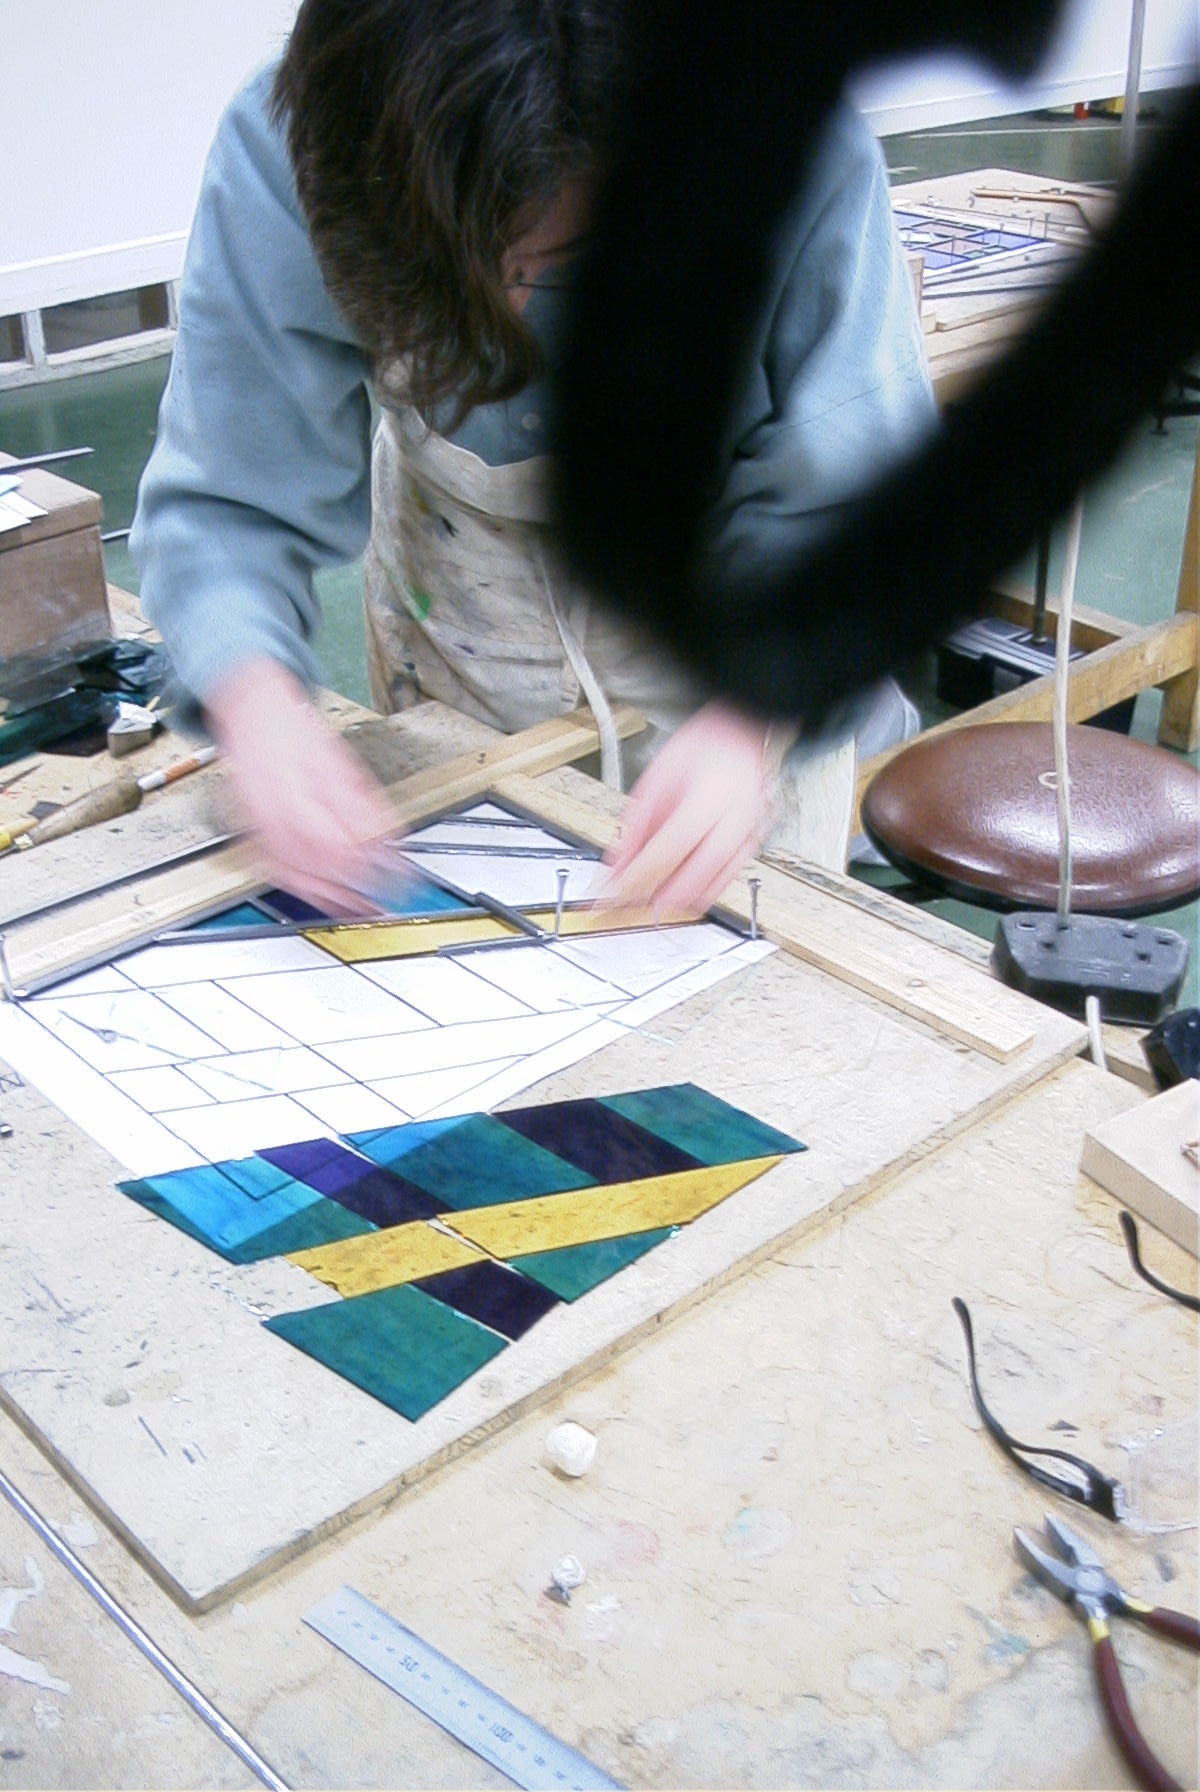
Place the glass on top of the cut lines design.
Hold the glass cutter like a pen and keep at the same angle.
Cut keeping wrist to elbow taut, cutting away from you so that you can
see the line on the design below.
Never score twice.
Break the glass along the score by using your knuckles as a pivot point (this stops you from grazing your knuckles). Alternatively, tap underneath the score in order to form and propagate a crack. This will produce a less clear cut. You can use the grozing pliers to tidy your cut. After you have cut the glass, blunt the edges by scraping them against each other. |
|
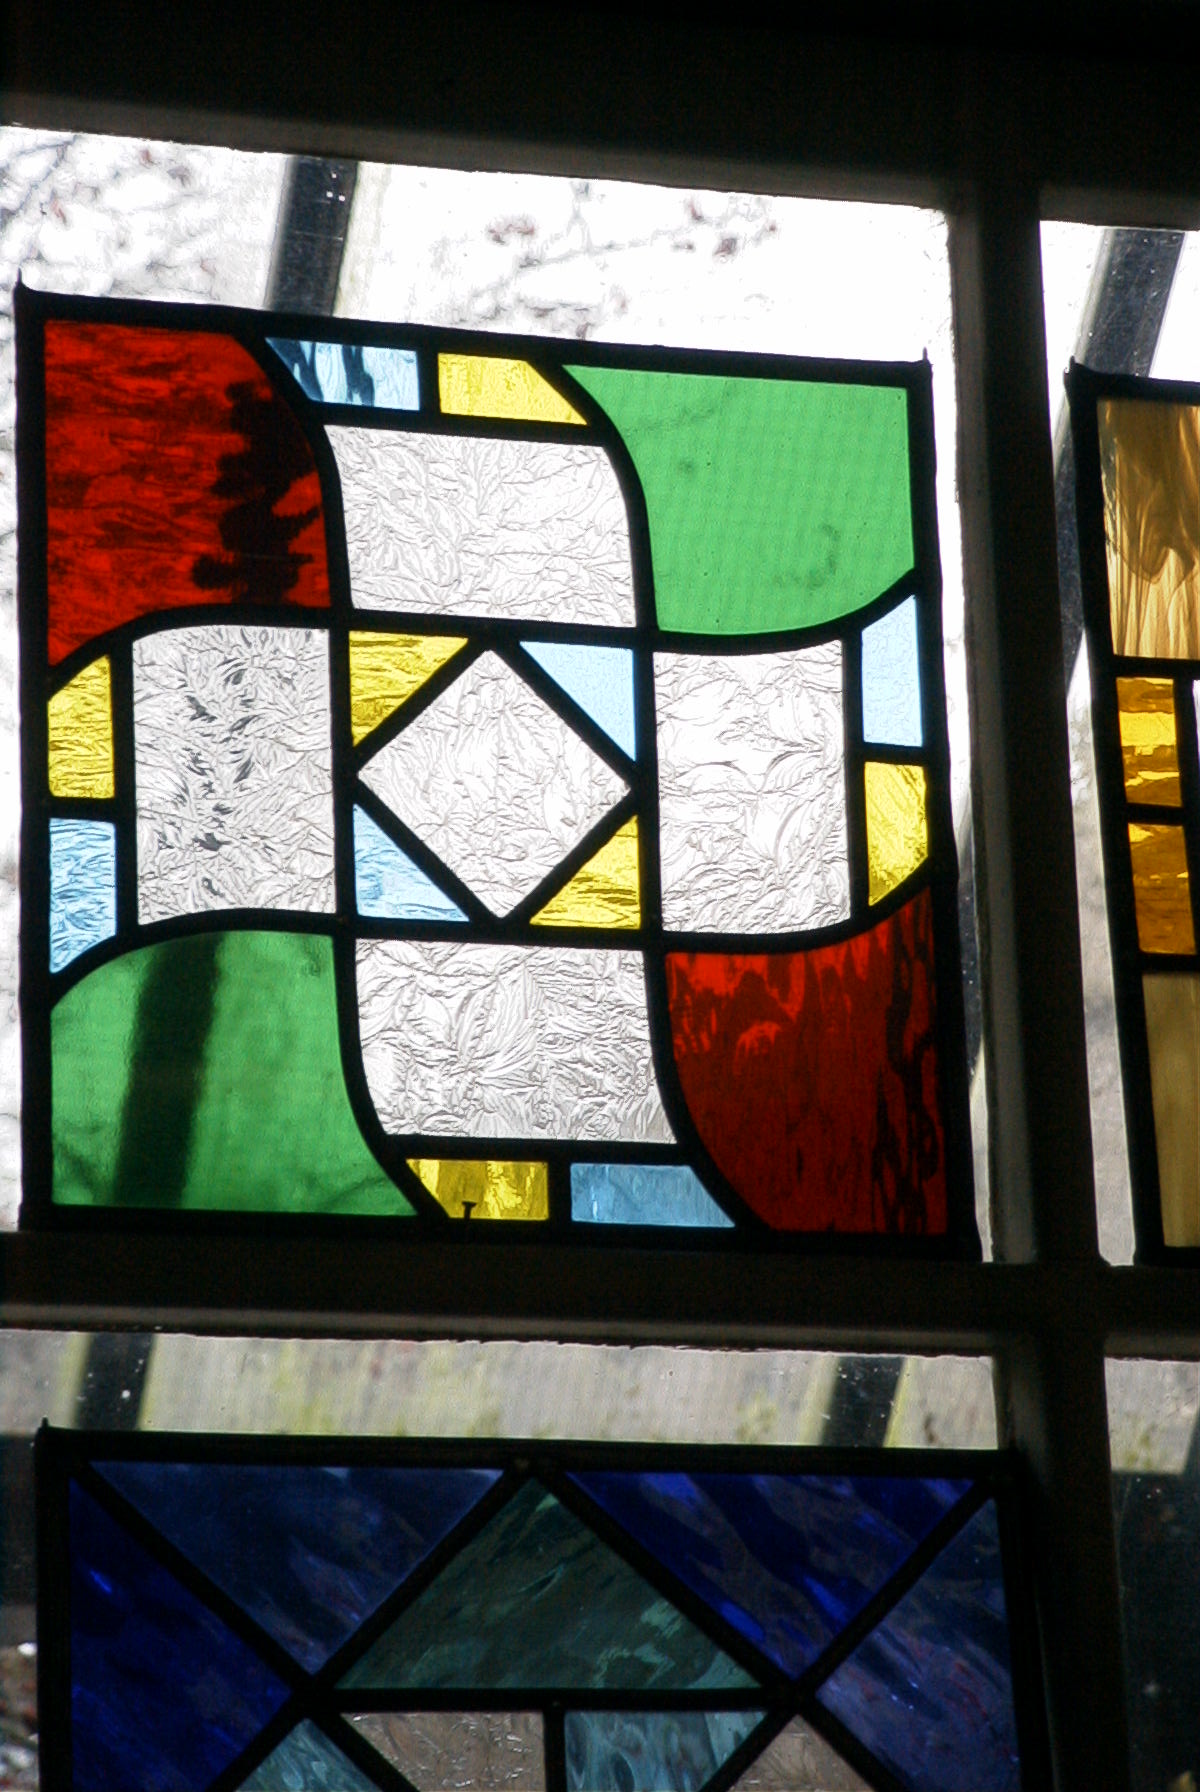
For cutting tight curves, you will probably have to do some grozing.
For very tight concave cuts, mark the outer ring and tap underneath. Then do some central bits and groze them away (see diagram).
|


|
Start with the outside lead (3/8"). The inner lead is 1/4". Open out the calm carefully. Put the lead in the cleat and stretch. When moving it around, keep it in tension so that it doesn't buckle. Be careful when stretching an inner lead since it is possible to over stretch these. If you see grooves in the channel, it means that the lead is milled. This is better than the other type of lead, which is extruded. To cut the lead, rock the lead knife as vertical as possible. Then dress it with the oyster knife on the 4 insides of the channel. |
|
You do 45 degree mitring by laying a lead at right angles
on top of the lead you wish to cut. Mark the bottom lead. Then mark the
diagonal. Remember to
cut with a rolling motion - vertical as
possible and then dress the lead.
Do the main corner first, then the outer ones. |
|
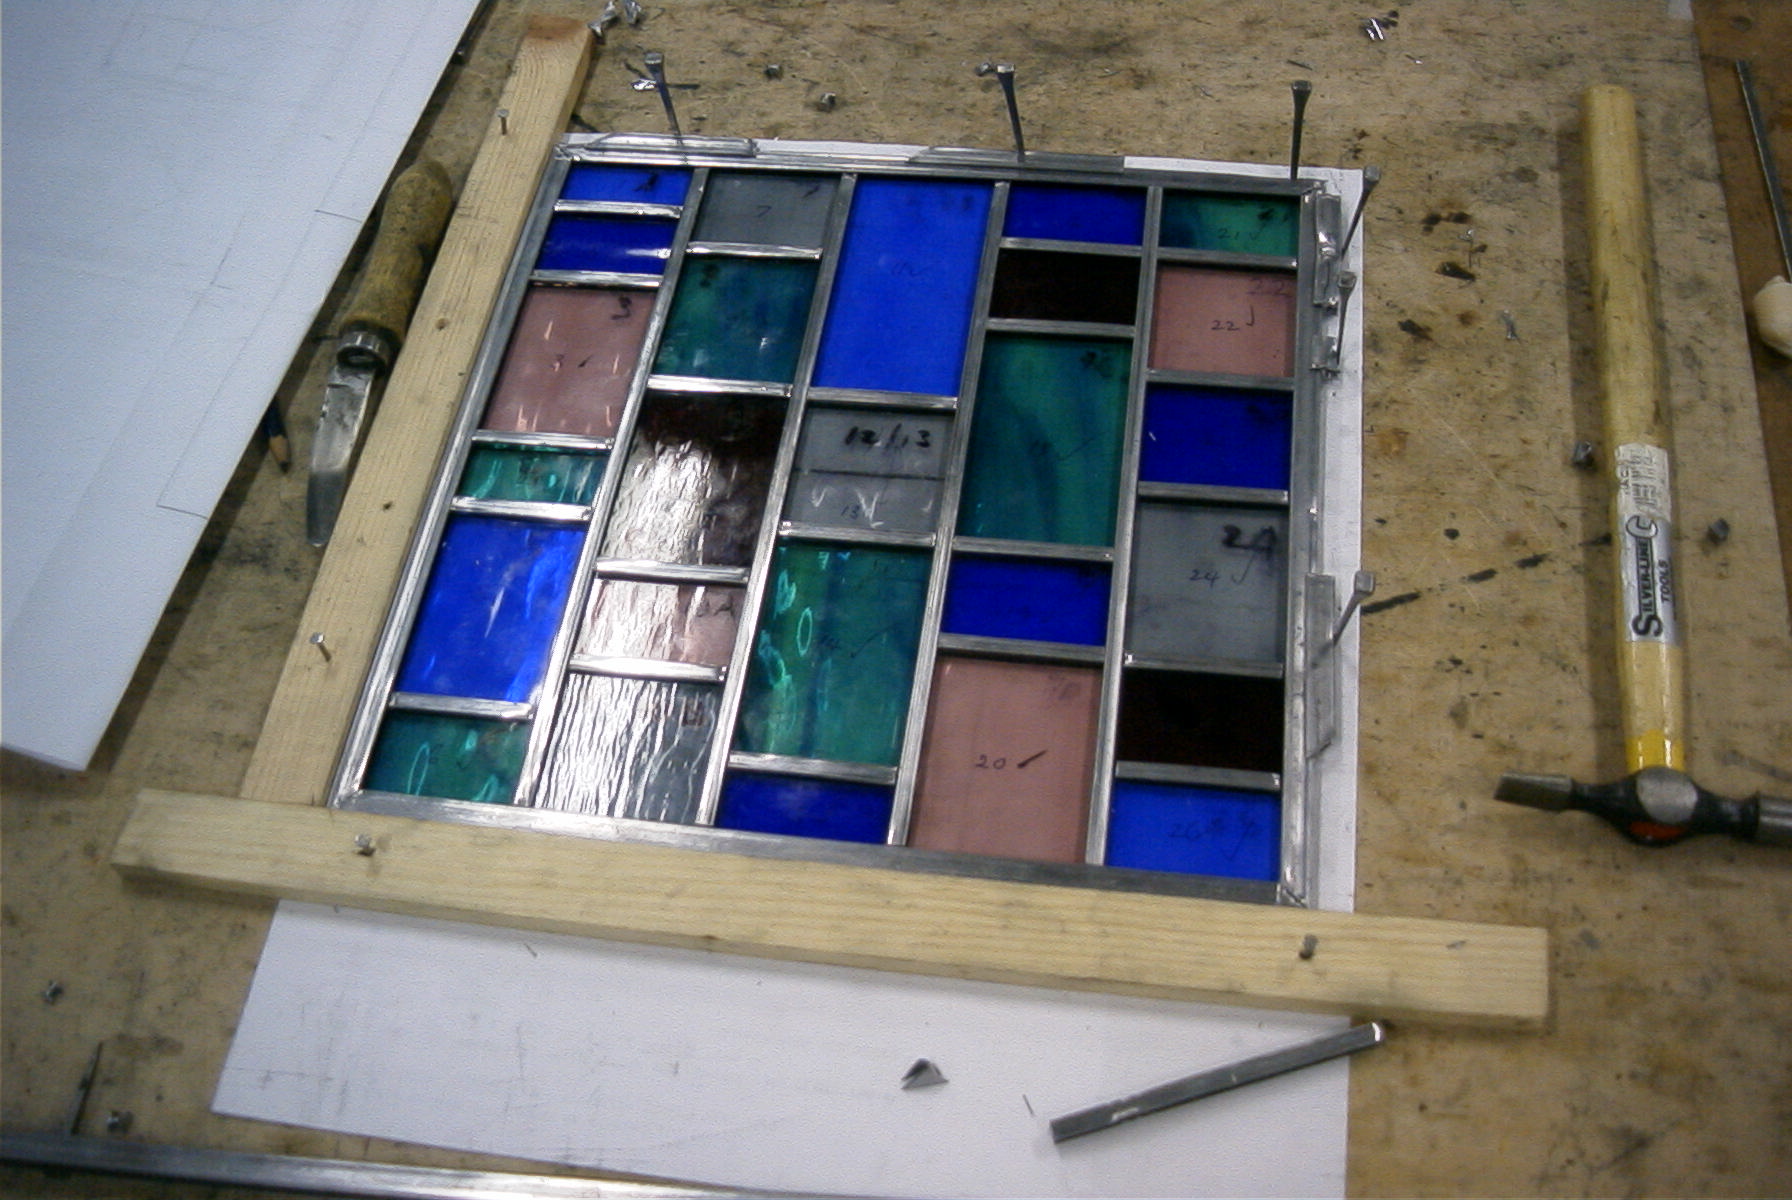
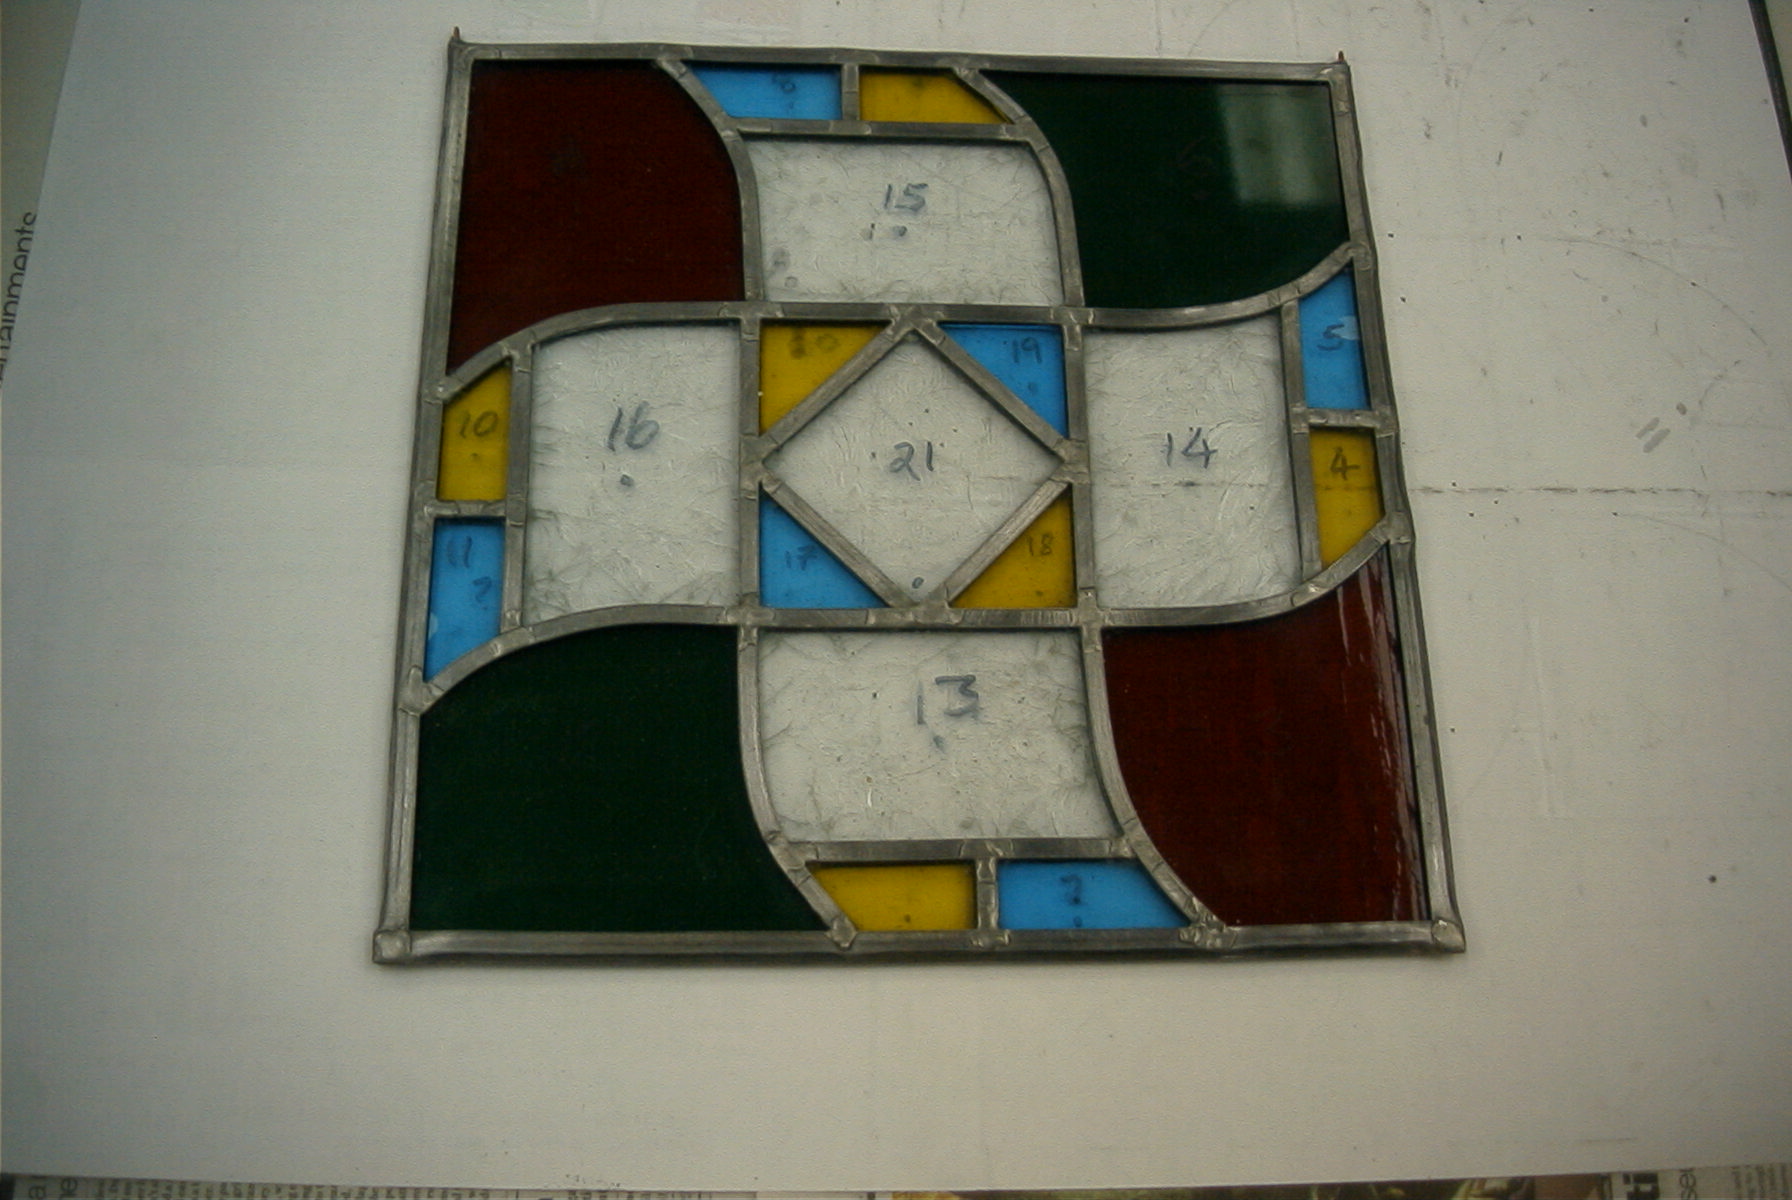
| Put some glass in the channel and move lead and glass to the pattern. Then nail batten down. Check right angle and do 2 sides. Length of sides very important. Measure by putting piece of glass on cut line of far side. The inner lead is 1/4". When cutting to junction, use gauge to mark the lead (match the heart of the gauge to the line of the pattern). Cut lead to this line, not to the glass. |
| 
| 
| 
|
|
Clean the joints of the lead very thoroughly with a wire brush and then
apply tallow (flux) to them.
Place the solder on the joint and then place the soldering iron on the lot. Hold the soldering iron at 80°. Hold it there long enough for the solder to find its own place. Do not apply too much solder to the outer lead or you will not be able to fold the edges. In particular, don't solder right up to the end of the mitre. Remember to do the soldering straight after cleaning, so that the clean lead doesn't reoxidize. |
| When attaching the hanging loop, you will find it easier if you support your piece with a couple of wrapped-up bricks (see diagram). Open up a channel with a nail head. Scratch the channel with the point of the nail. Put some tallow in. Clean the copper pin (both sides) with a wire brush and then scrape with a knife. Take care not to damage the loop. Apply some tallow and then solder a minimum amount of solder onto the loop (just enough to fill the gap). Then put the loop in place and reapply the iron to it. Check that it does hold. |
Put a small amount (3 dots) of grate polish (Zebo) on a small brush and apply. Then use the big brush to finish. It's worth repeating: make sure you have cleaned as much putty away as you can before brushing or you will ruin the brush.
| 
| 
|

| 
| 
|
| 
| 
|

|