|
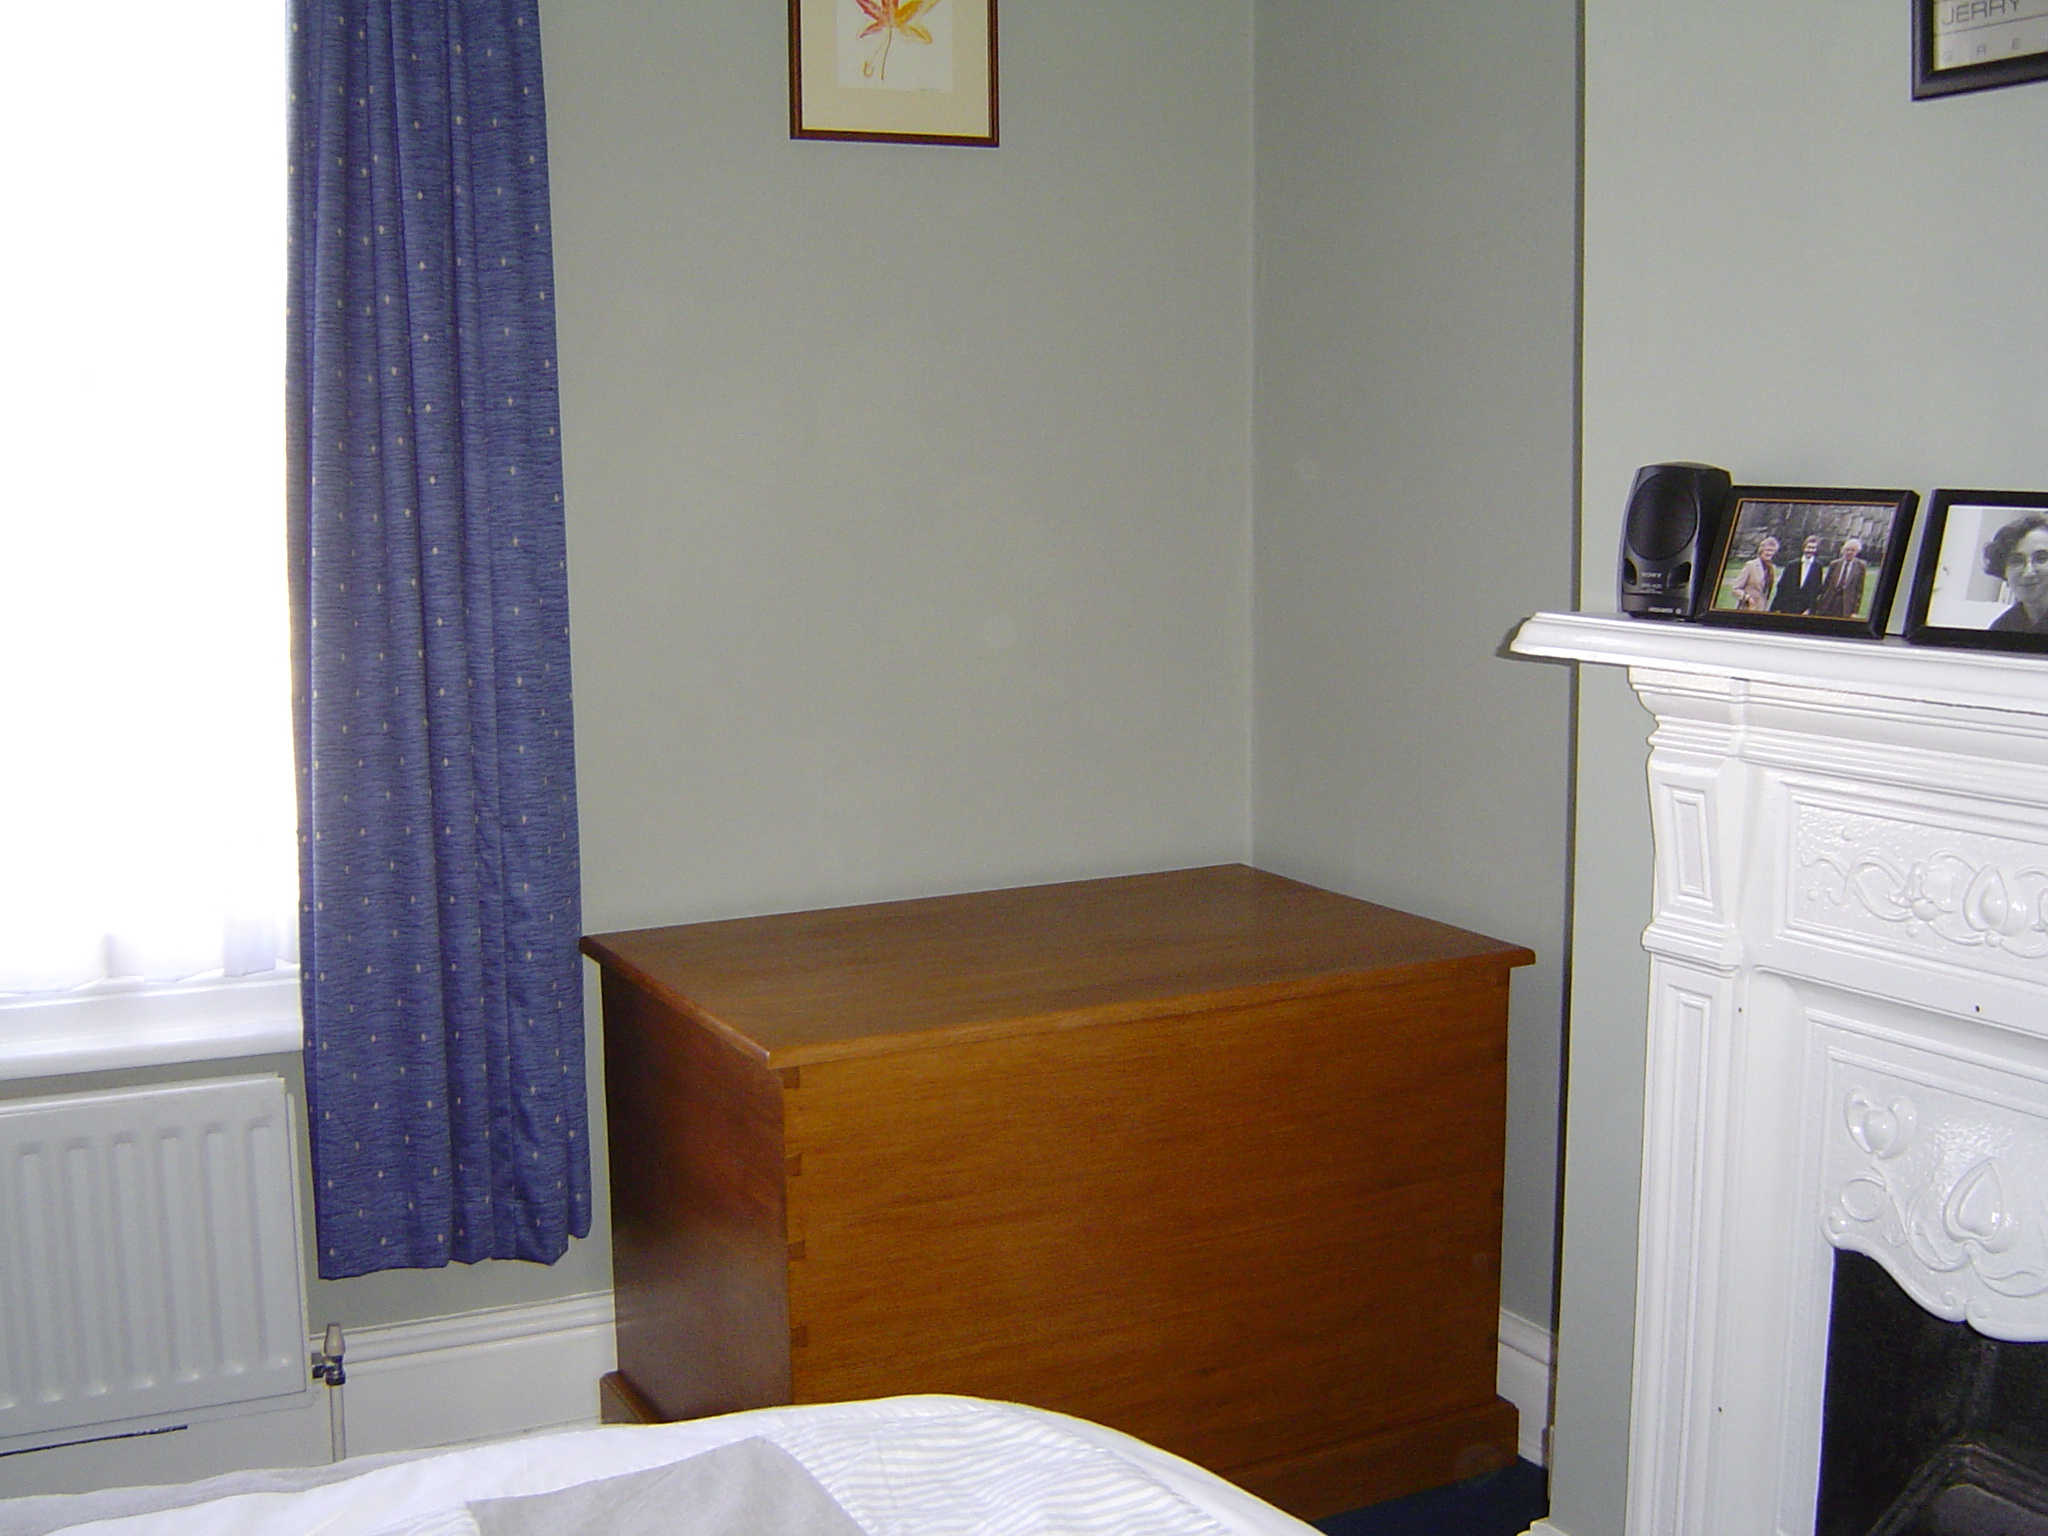
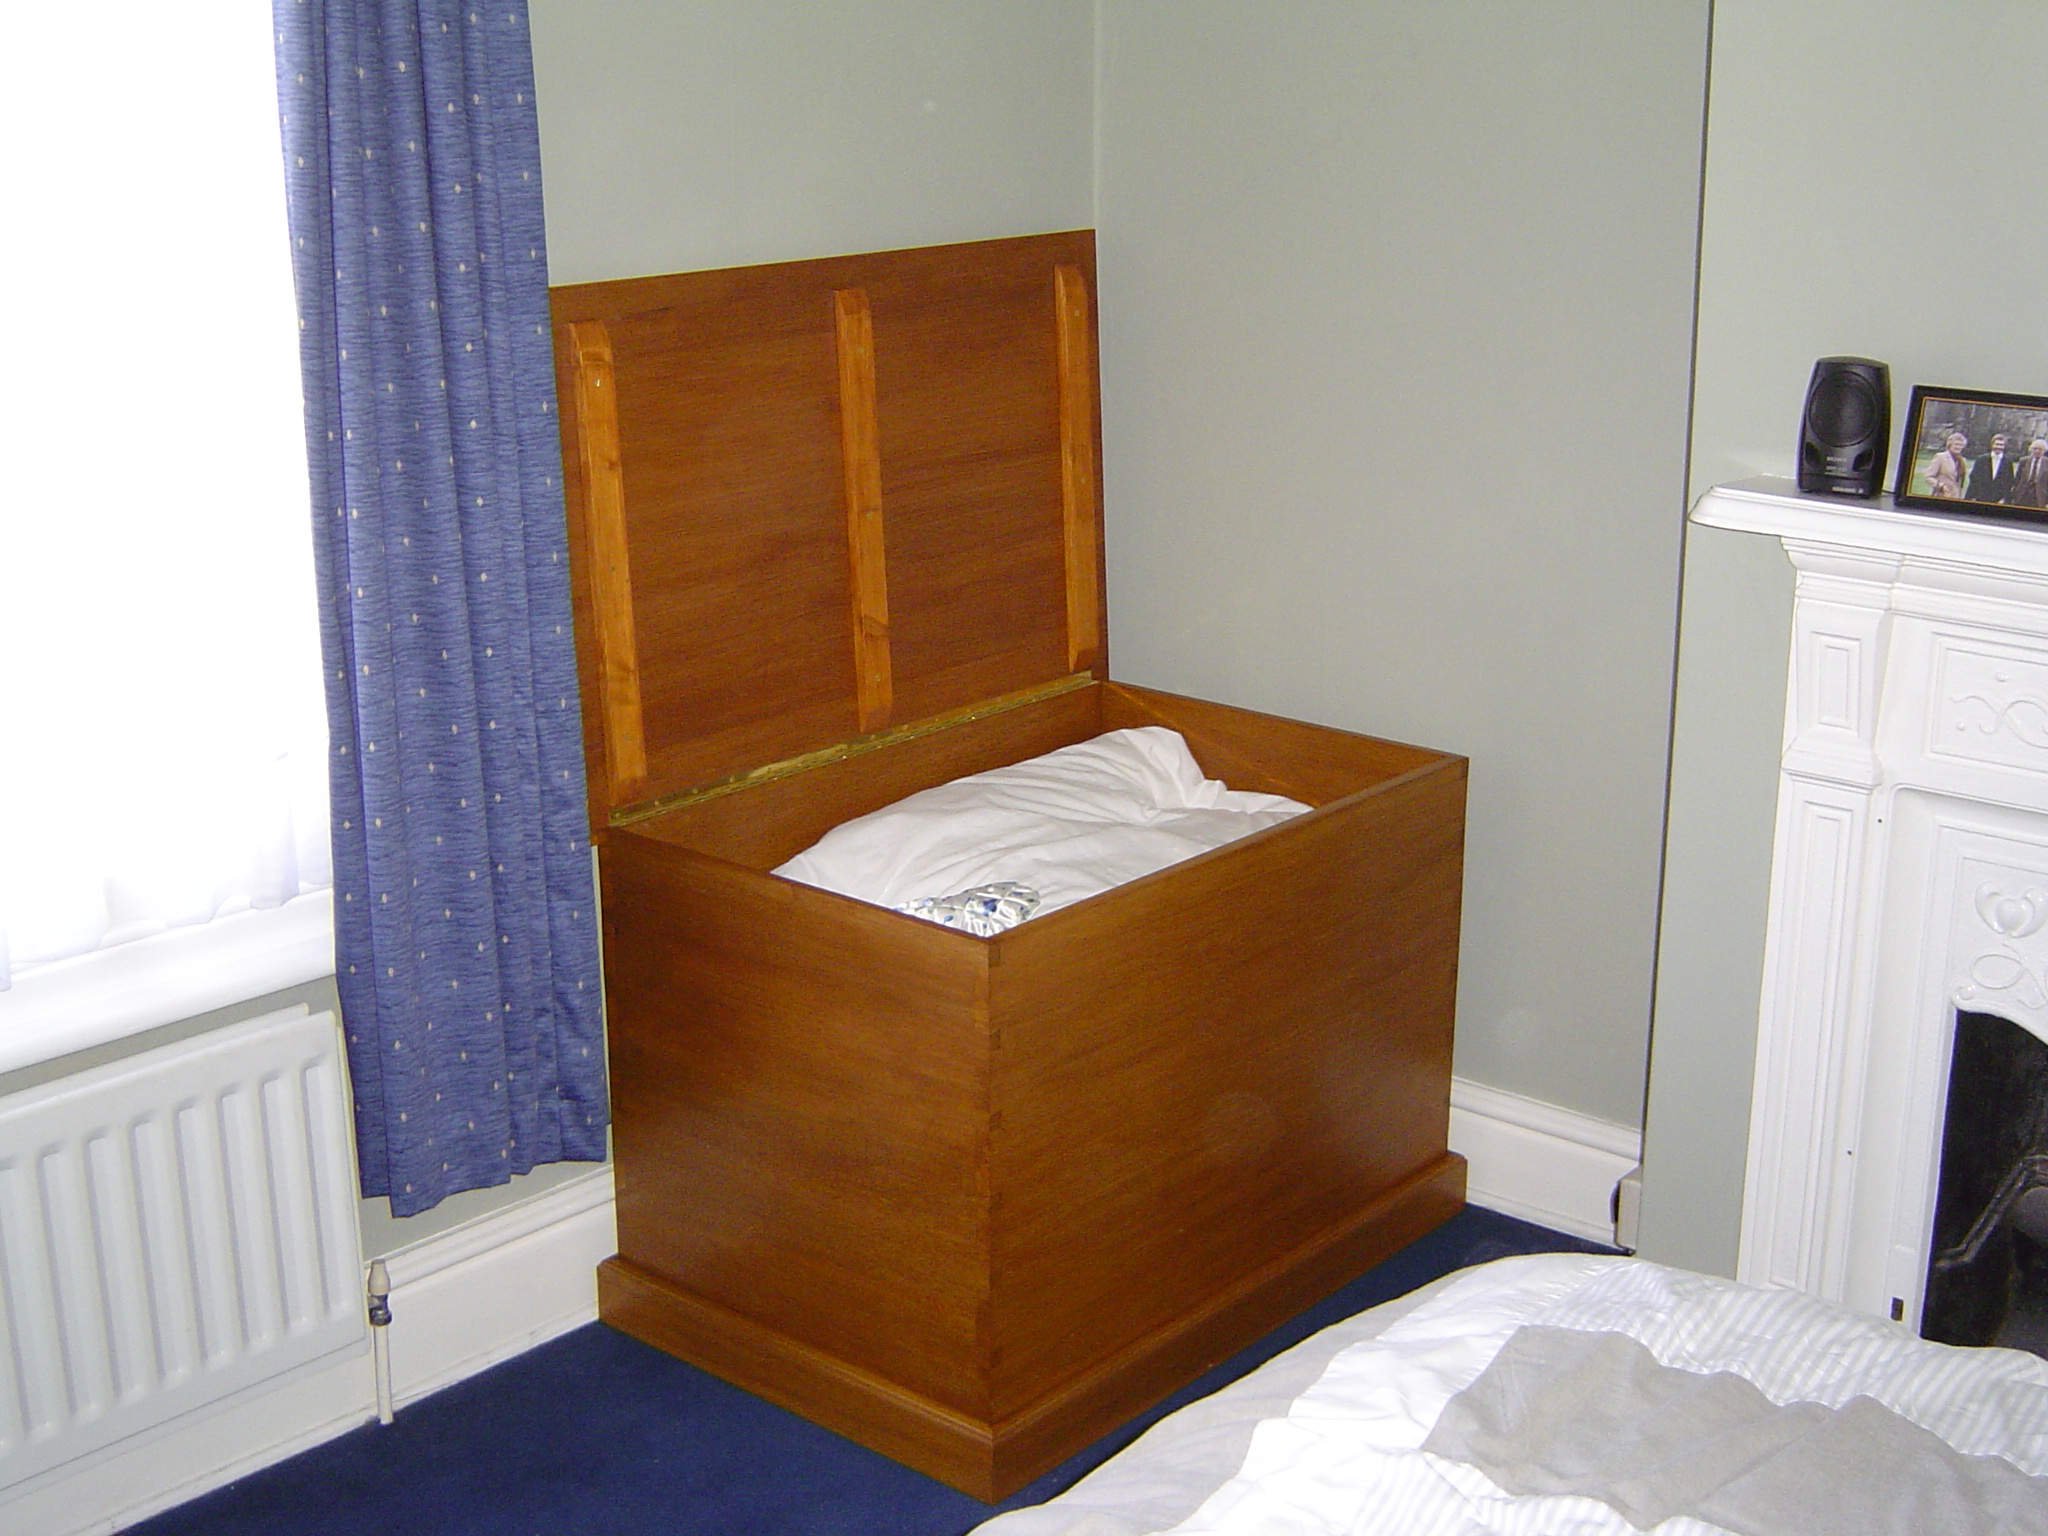
A Blanket Box |

|
|
|
A Blanket Box |
|
I had at last got fed up of dumping my winter duvets and spare blankets on the floor and started looking for a blanket box to hold them. The problem was that I couldn't find any that were the right size. Duvets are pretty bulky, so I wanted a reasonably big one, but not one so big that I couldn't get it up the stairs and into the room.
The solution was to build my own so that it was just right. I found a simple enough design (in "Pine Furniture Projects for the Home" by Dave Mackenzie) such that I could adapt the dimensions fairly easily to my requirements.
 First of all I needed some wood. I didn't want to use pine and in the end
settled on the hardwood meranti (since it looked reasonably nice, was
affordable and believe it was ethically sourced).
First of all I needed some wood. I didn't want to use pine and in the end
settled on the hardwood meranti (since it looked reasonably nice, was
affordable and believe it was ethically sourced).
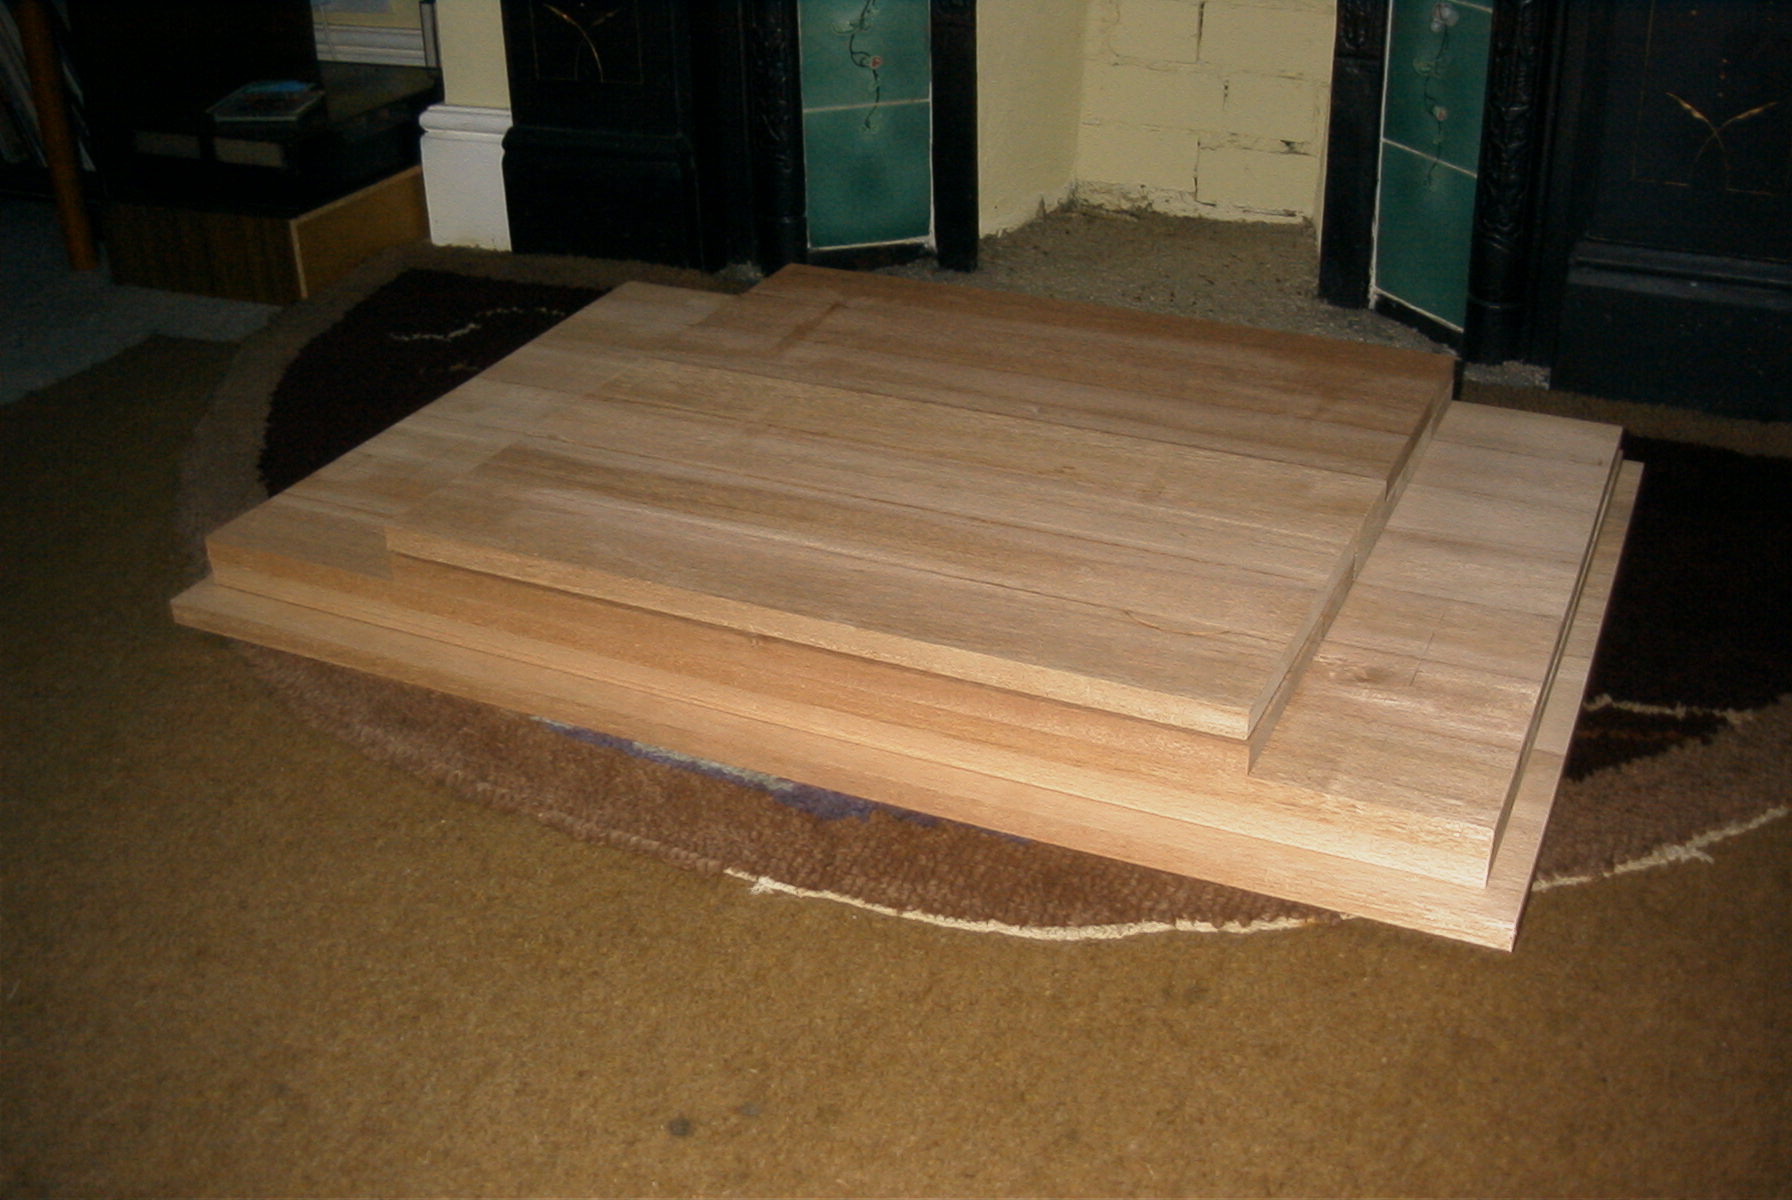
To make the sides and top you have to join lots of narrower boards together. This is normally for two reasons: if you join them together sensibly you will get less warping and you can't get a single board of the width you want. Each side consisted of 7 boards joined together.
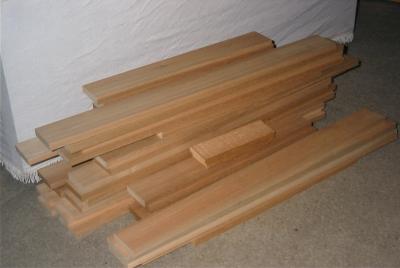
This leads to a big pile of wood which I ordered cut and planed to the
dimensions I wanted. I don't have a table saw nor a thicknesser, so had to
order them precut (or go through more grief than I wanted).
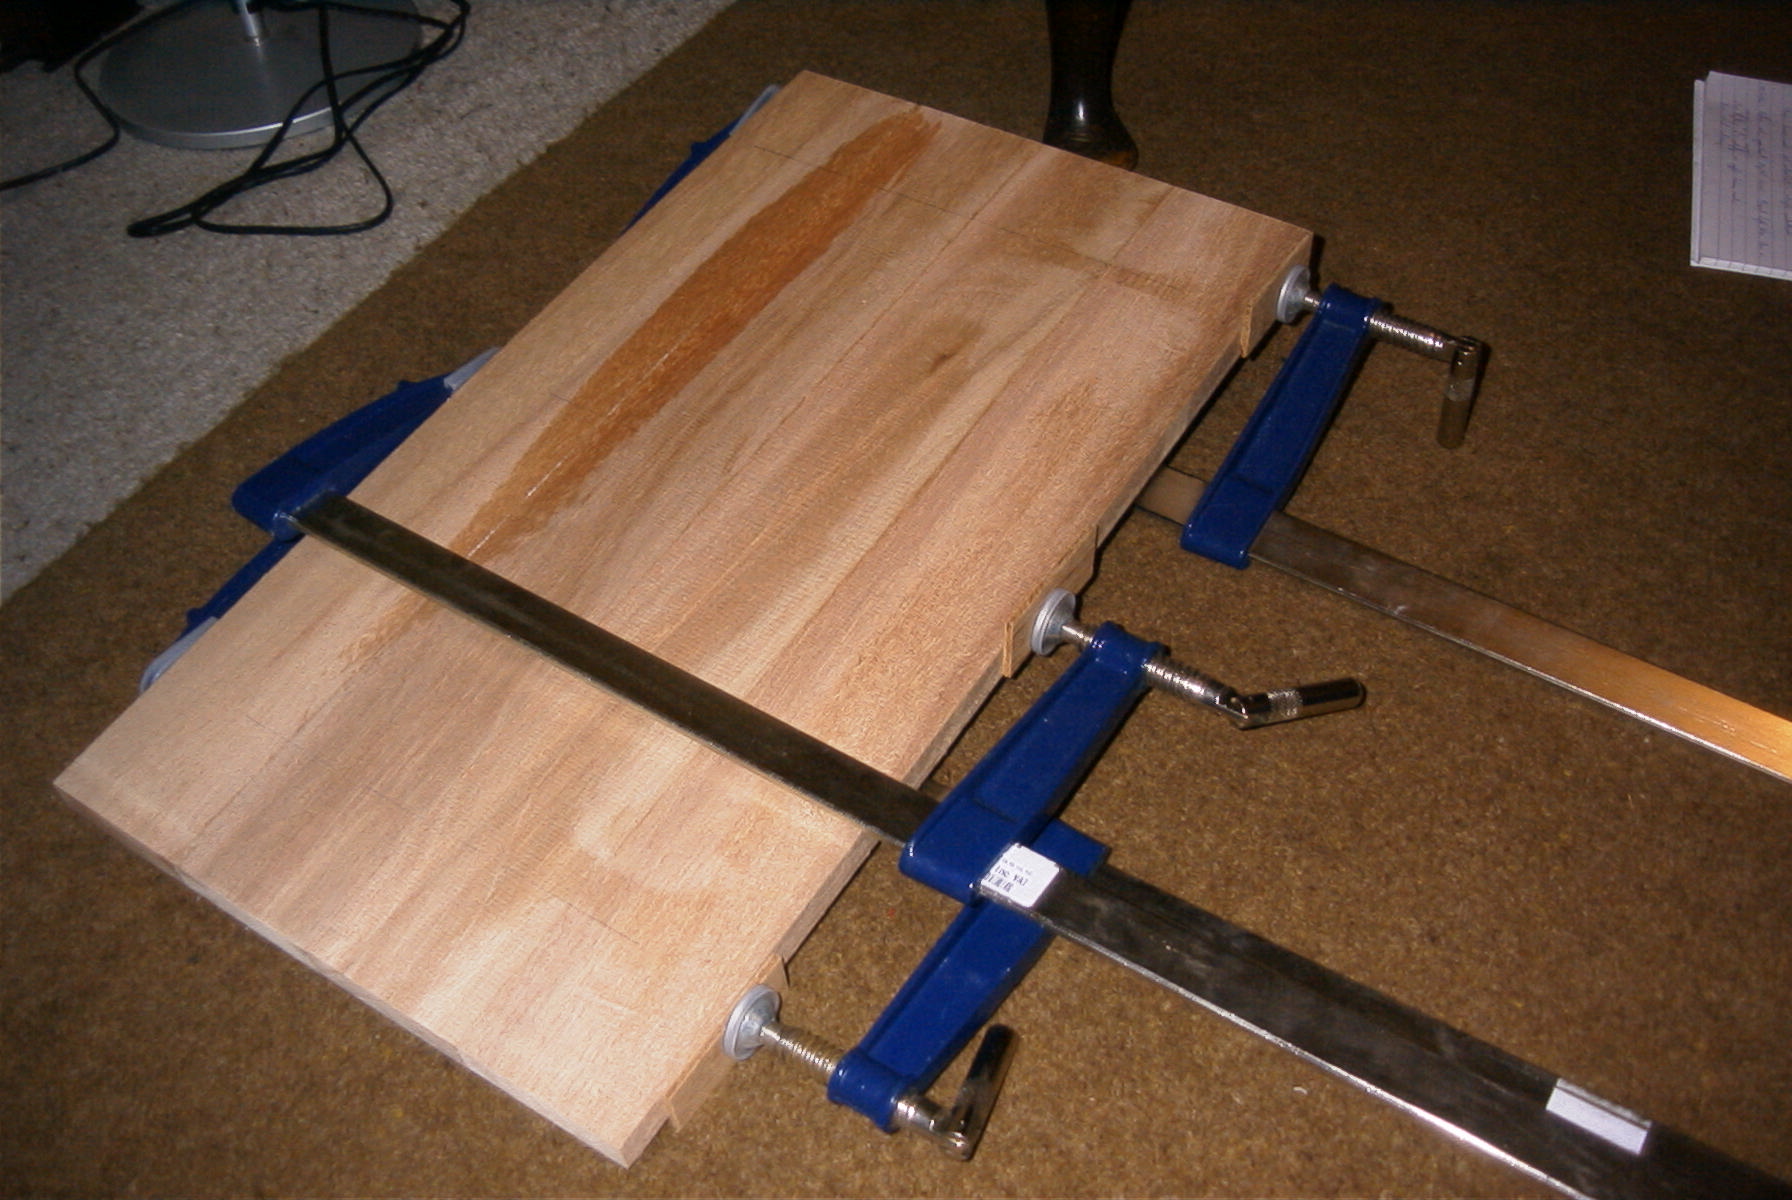
To join all these boards together I used a biscuit jointer. This most excellent piece of kit cuts neat and accurate slots into your boards. You then glue in the biscuits and apply glue to the edges of the boards. The advantage of the biscuits is that it ensures that your boards are aligned correctly when you clamp them together.
| Of course, lots of clamps are needed. |
|
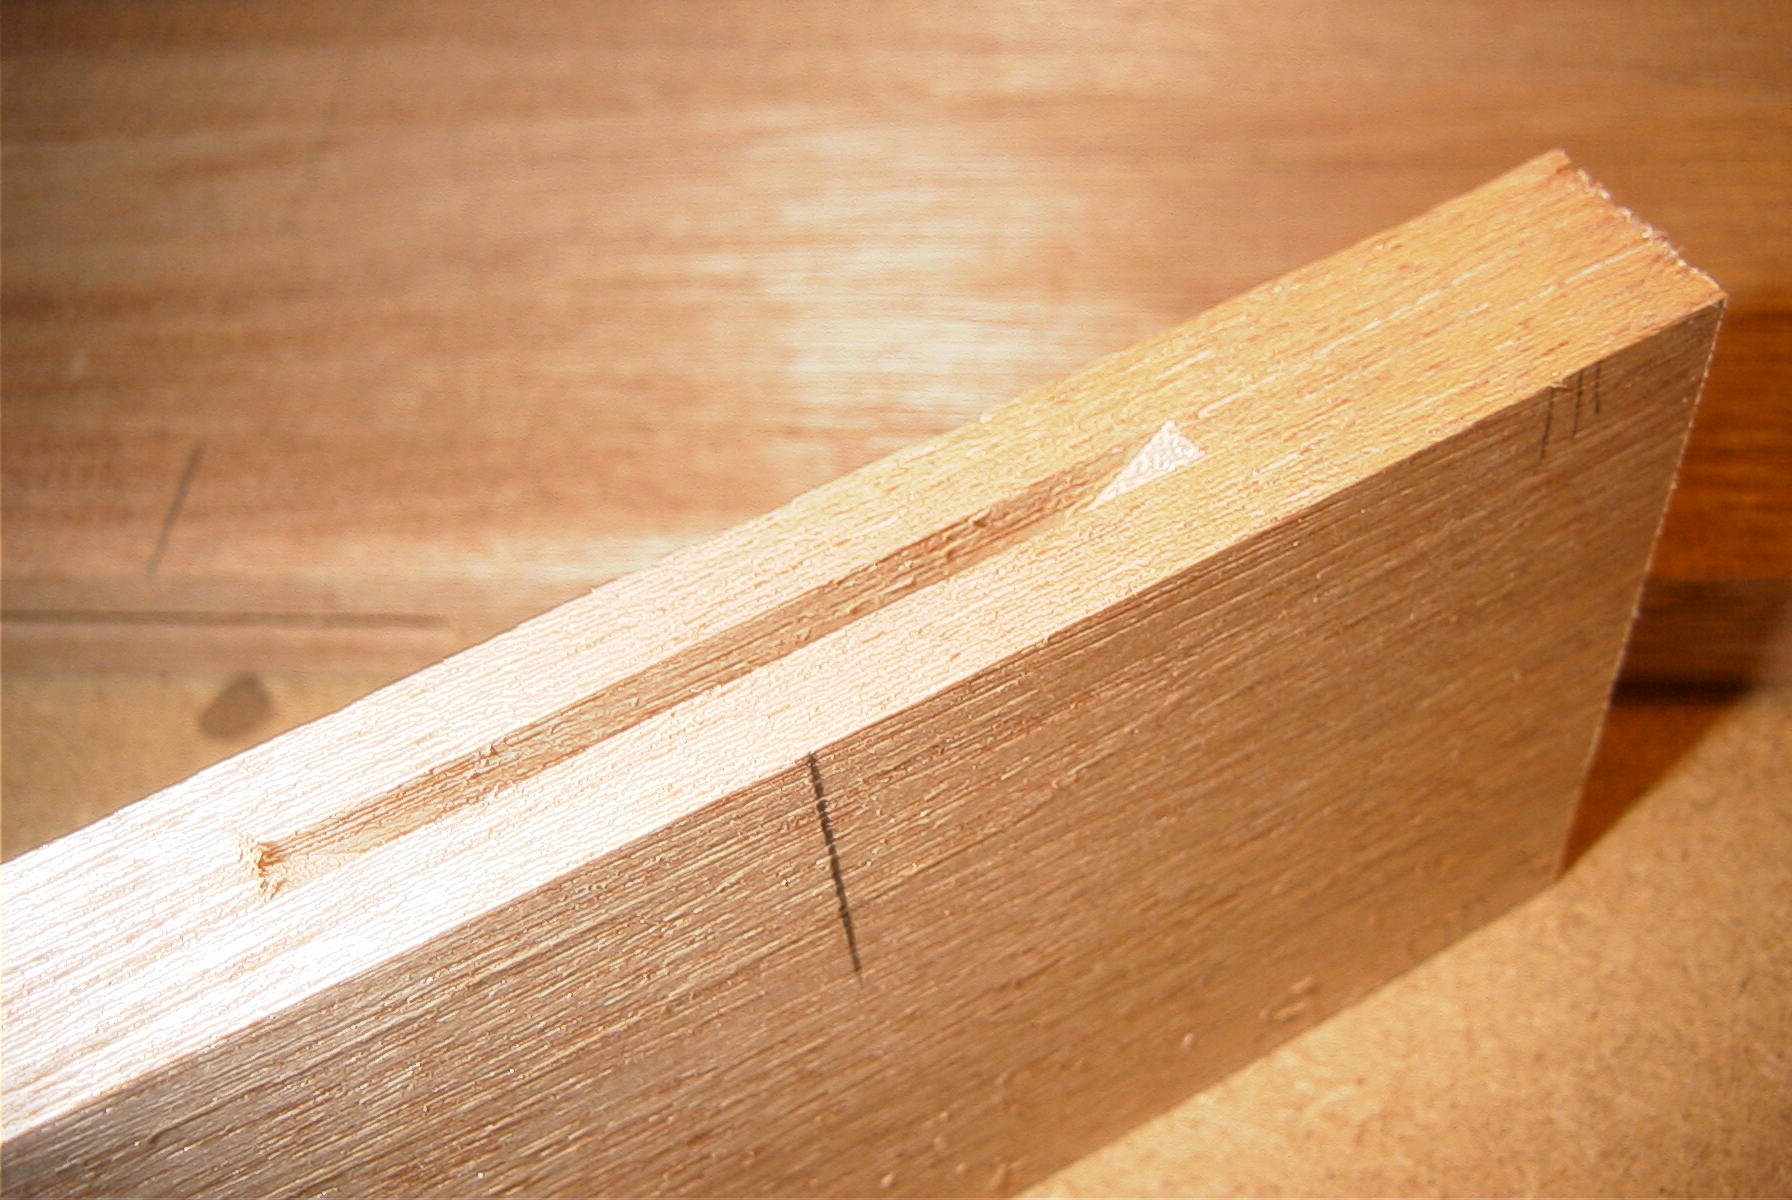
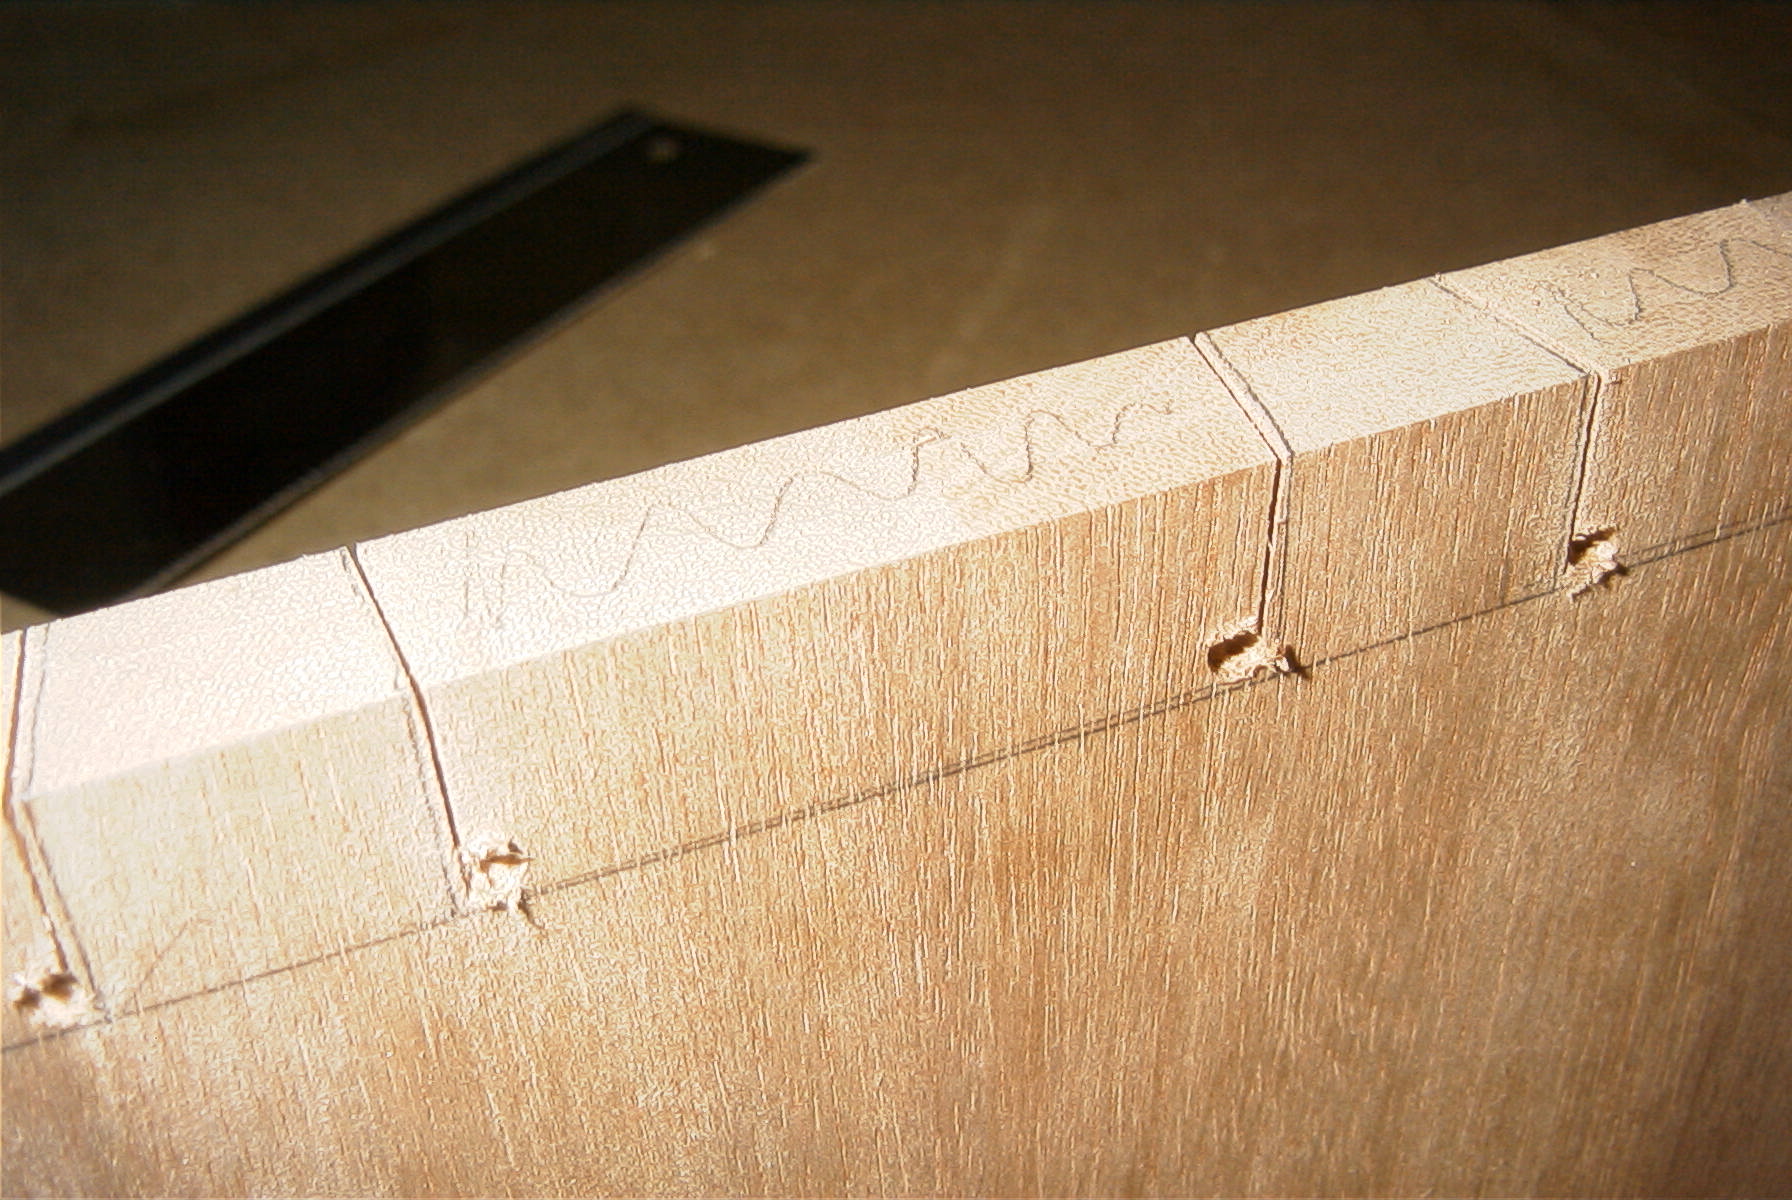
 Mistakes were sometimes made. My excuse is that the biscuit jointer was new
and I didn't realize how tight you needed to do up some of the fixing nuts.
So one slot for a biscuit joint didn't quite go through the middle of the board.
Mistakes were sometimes made. My excuse is that the biscuit jointer was new
and I didn't realize how tight you needed to do up some of the fixing nuts.
So one slot for a biscuit joint didn't quite go through the middle of the board.
Looking on the positive side, I had an excellent opportunity to learn how to make a Dutchman repair. Normally they are used to repair rotten wood and can often be seen in very old tables.
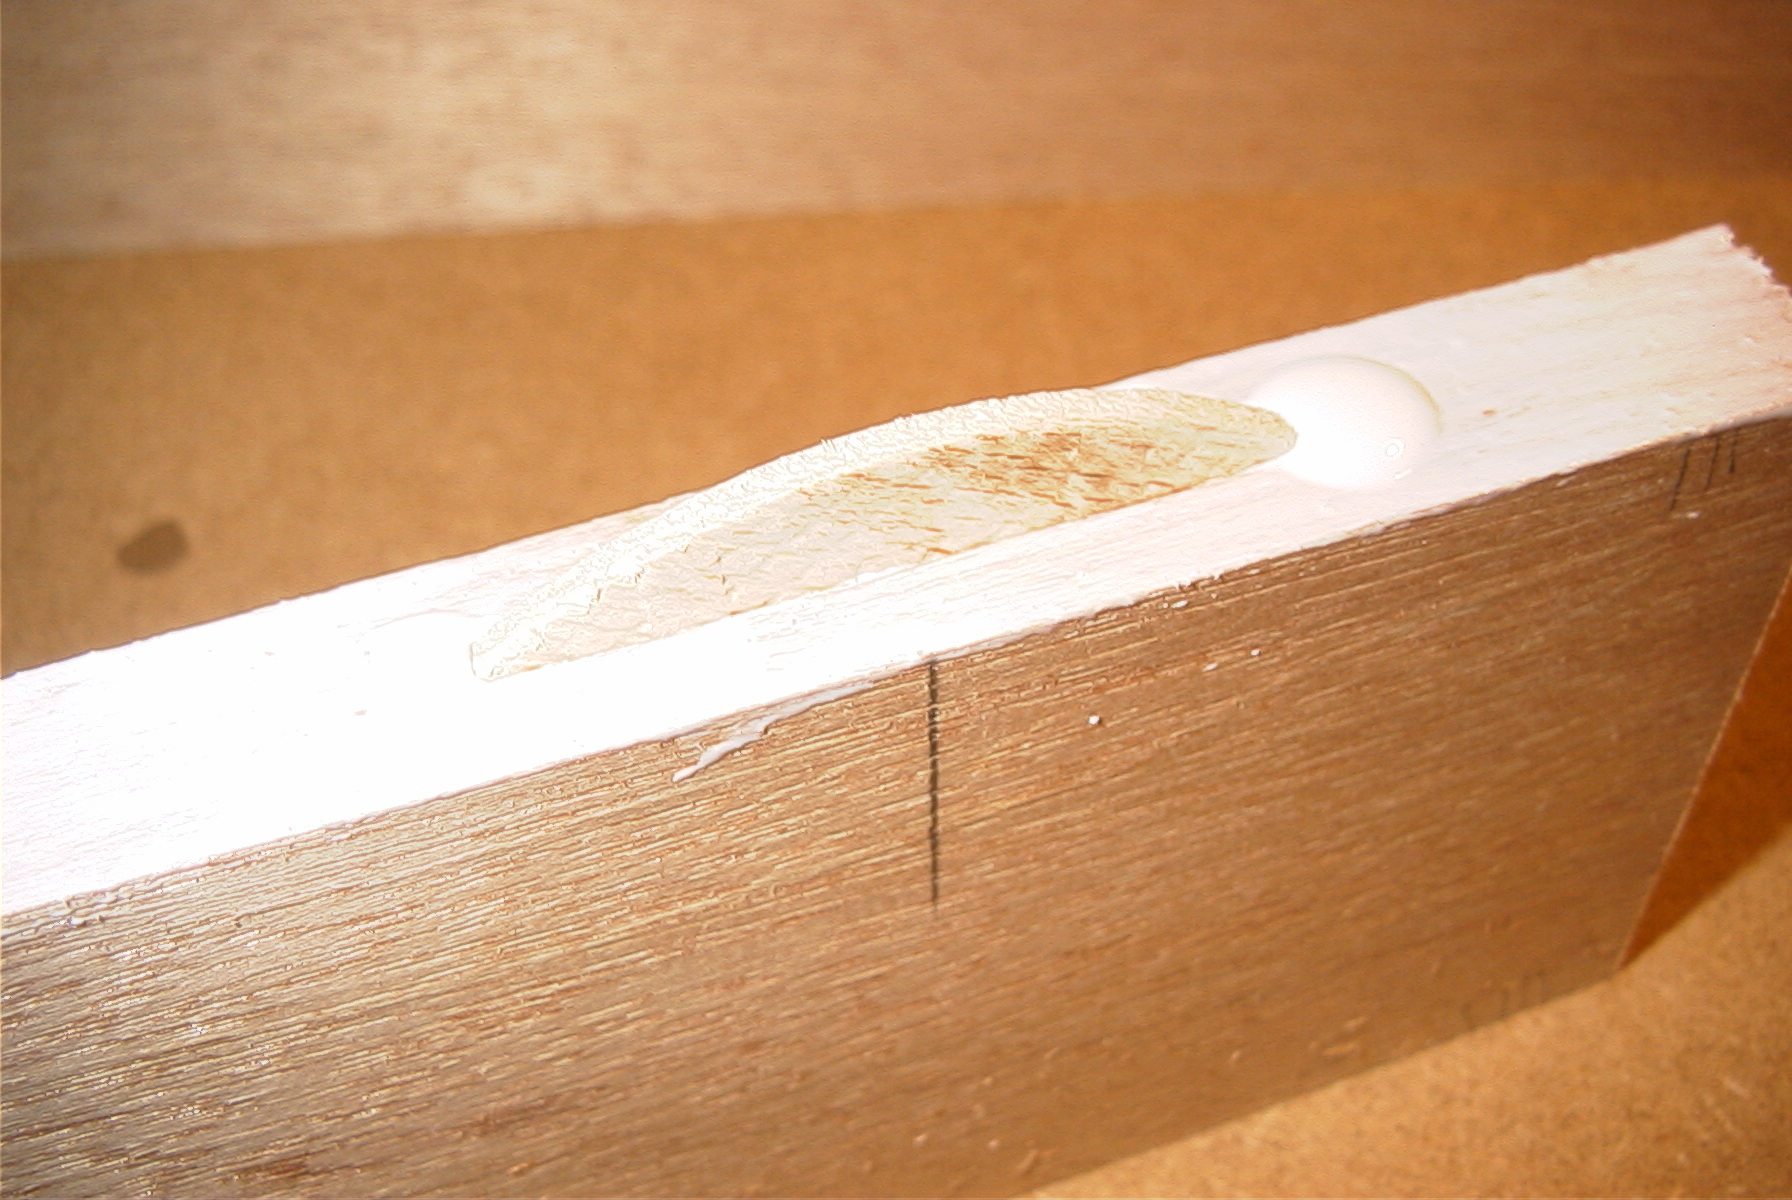
The end result after sanding was so good that it takes effort to spot my initial mistake
(picture is before sanding!).
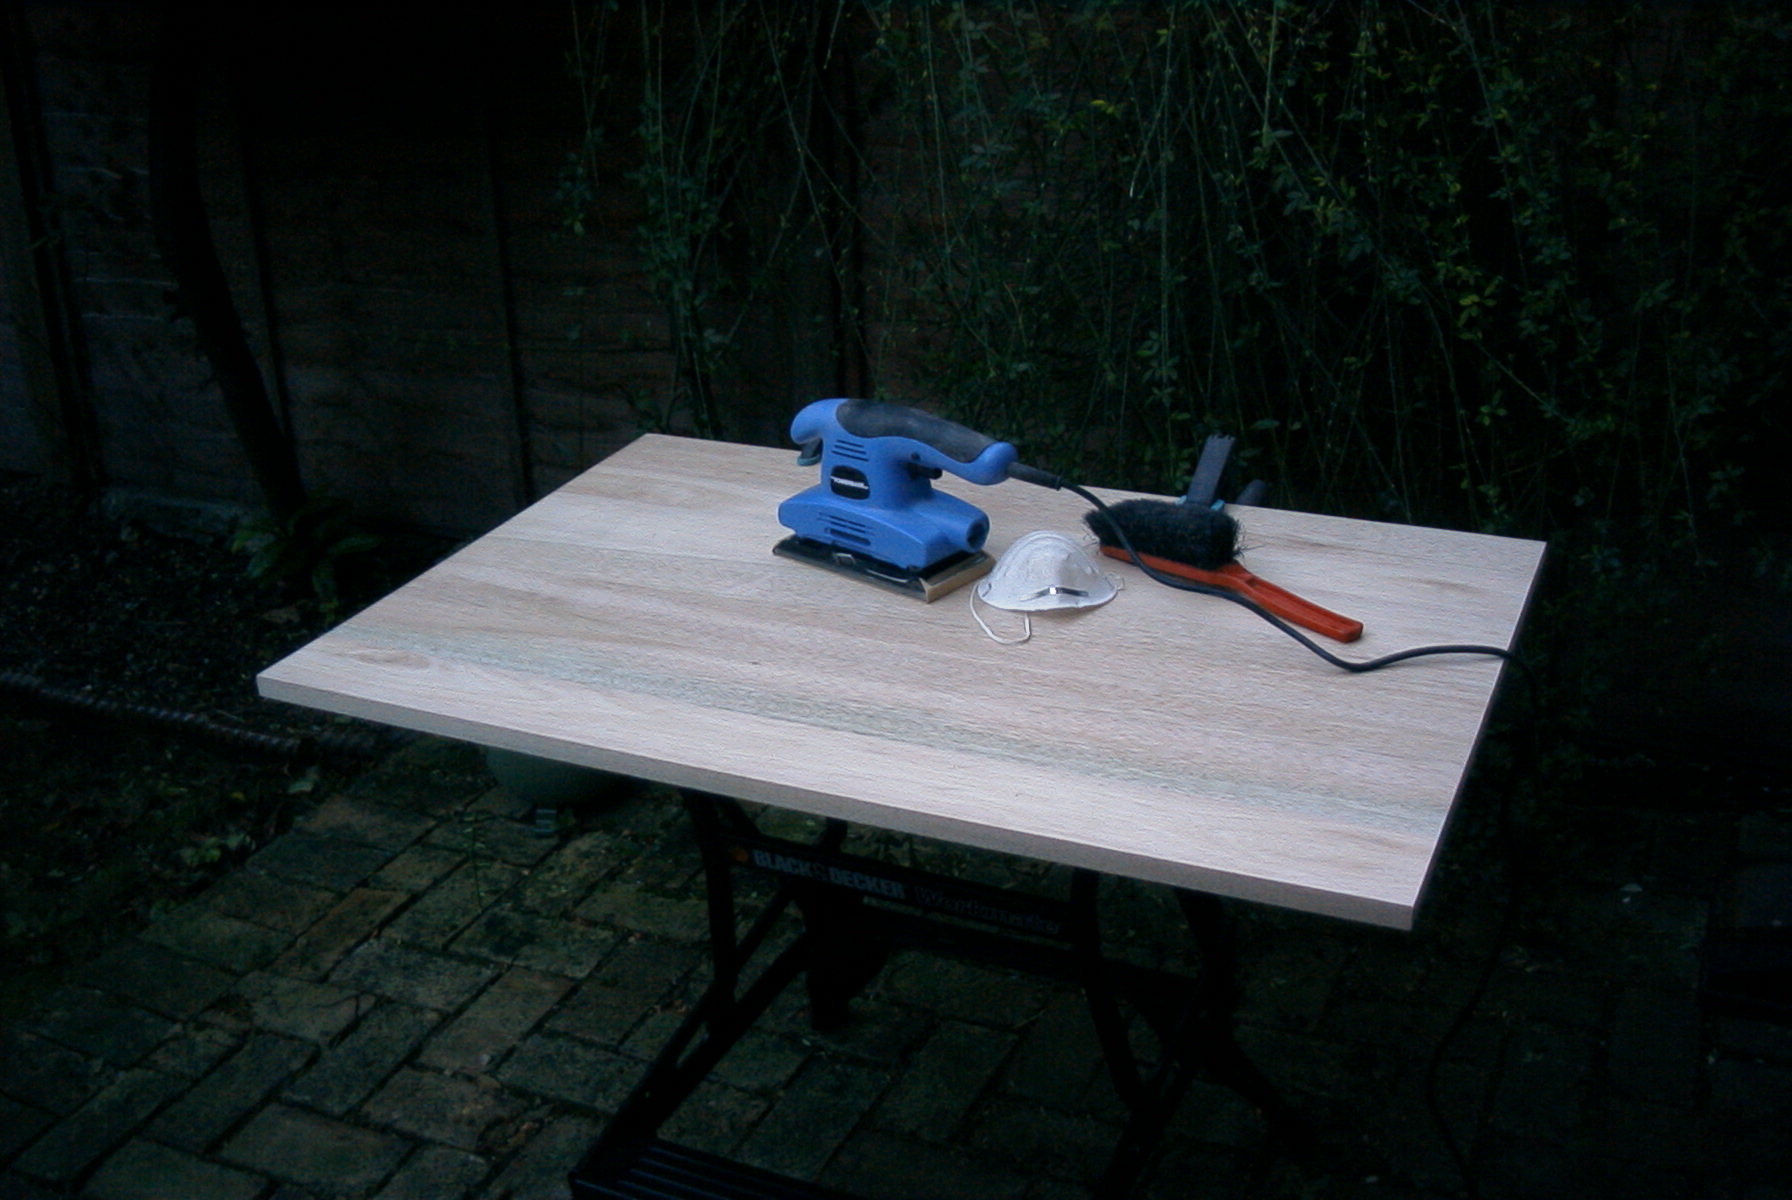
You then end up with four sides and a top that require a lot of sanding.
|

|
|
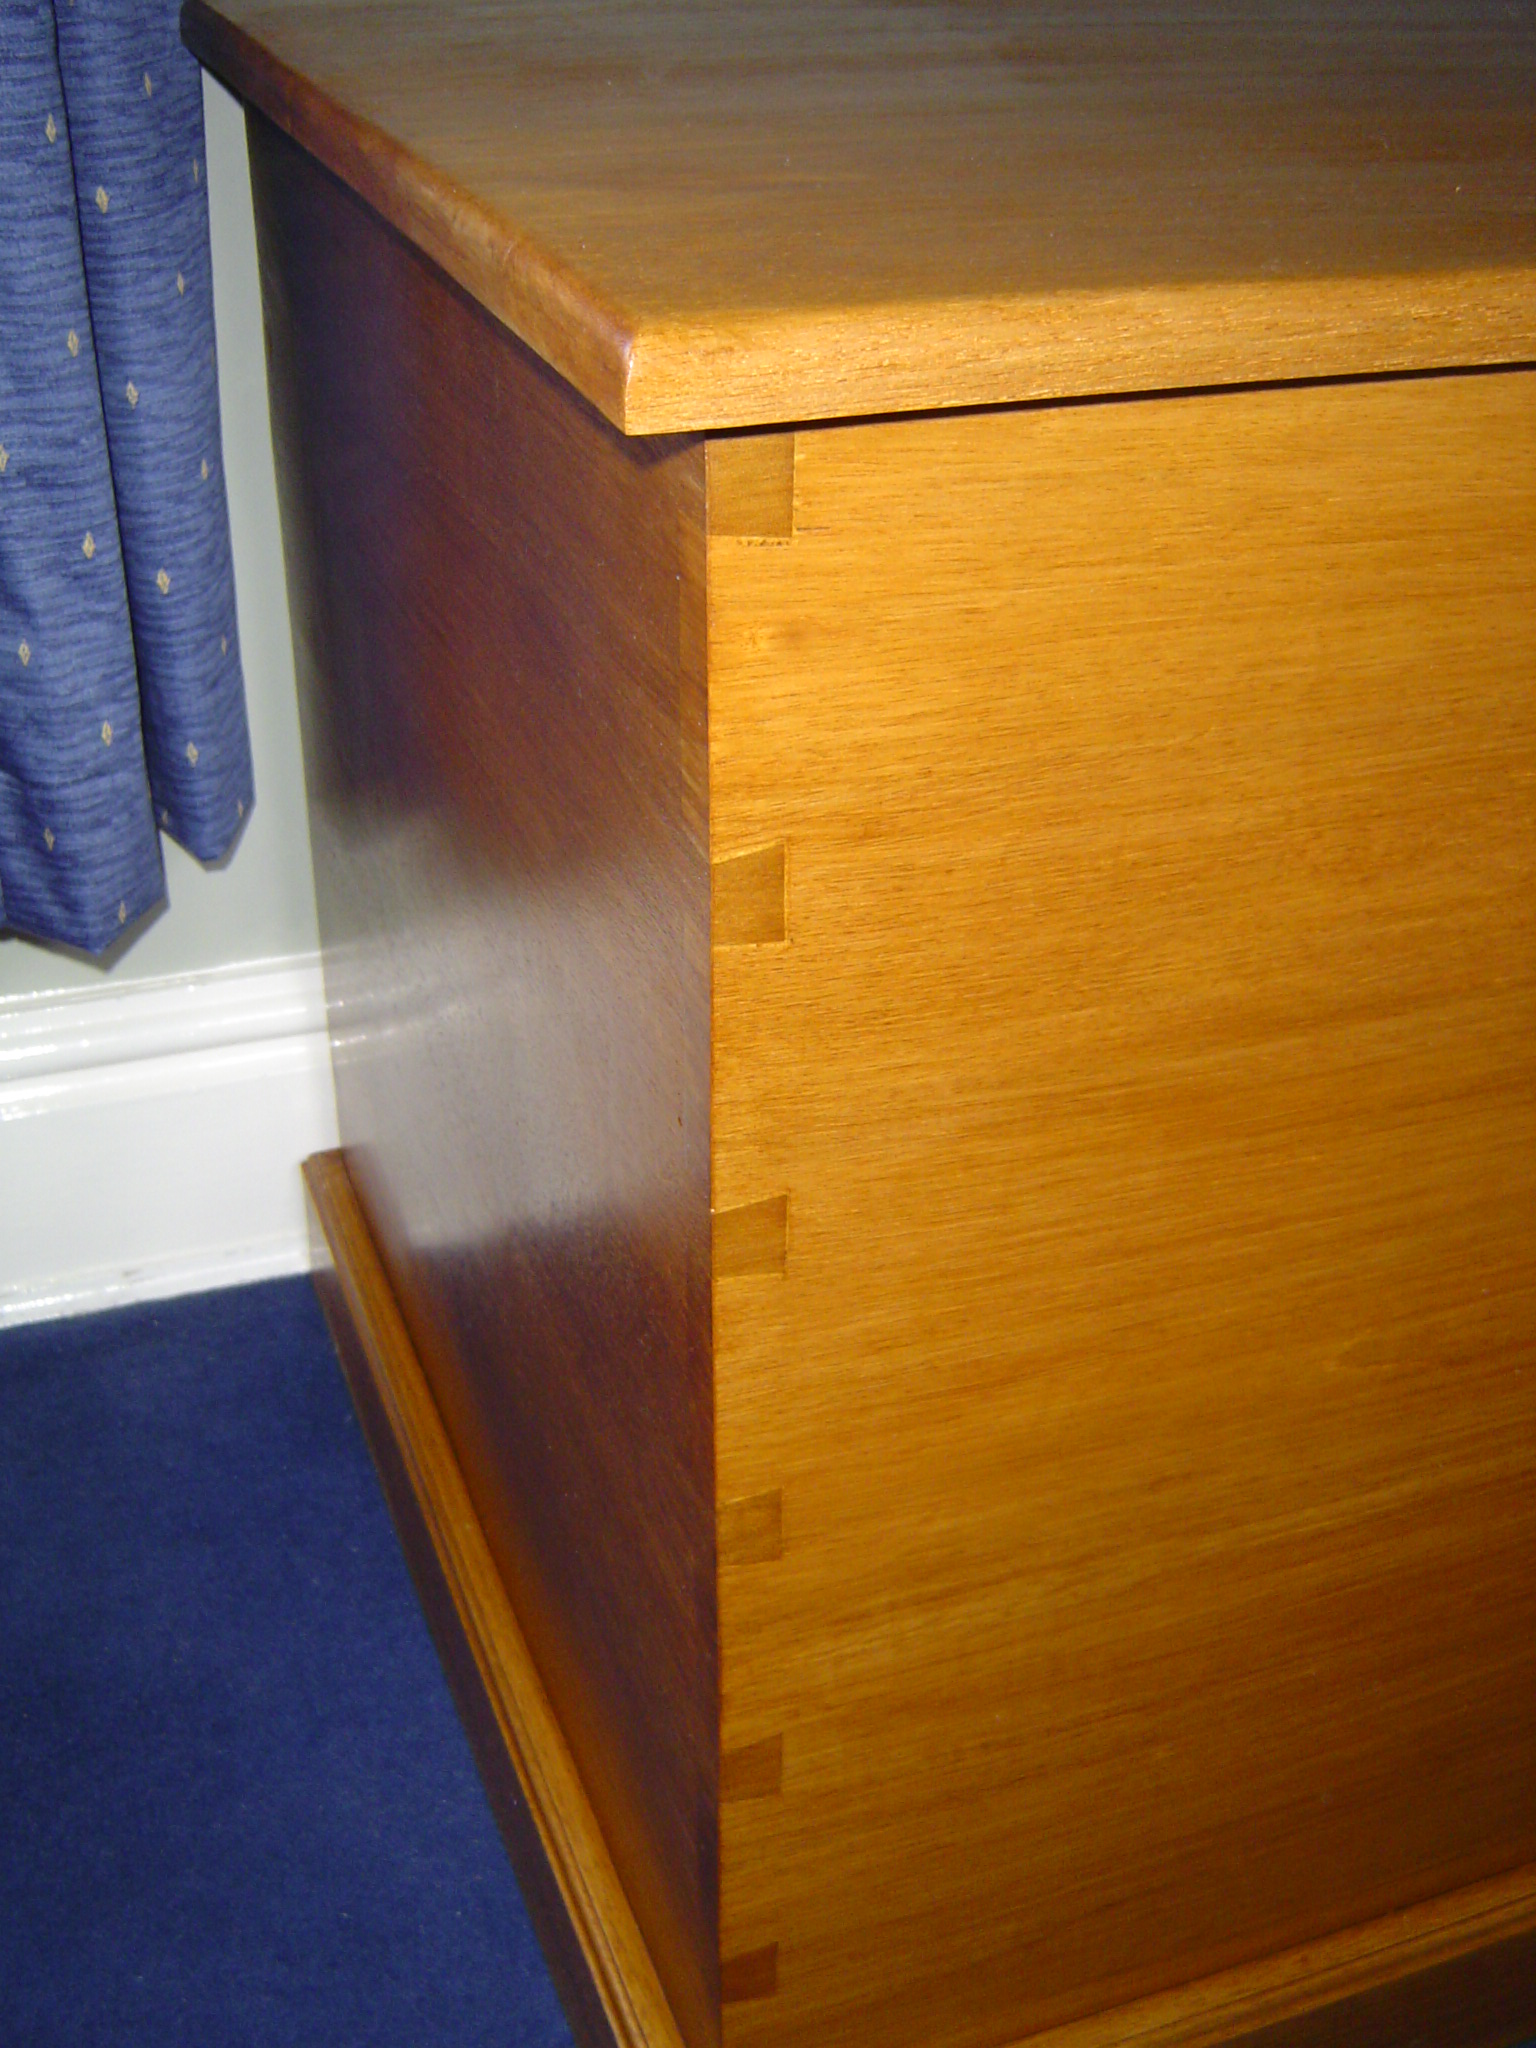
There are, of course, much simpler ways of joining the sides to each other,
but dovetail joints look nicer and I get a chance of using the skills I
picked up from the West Dean
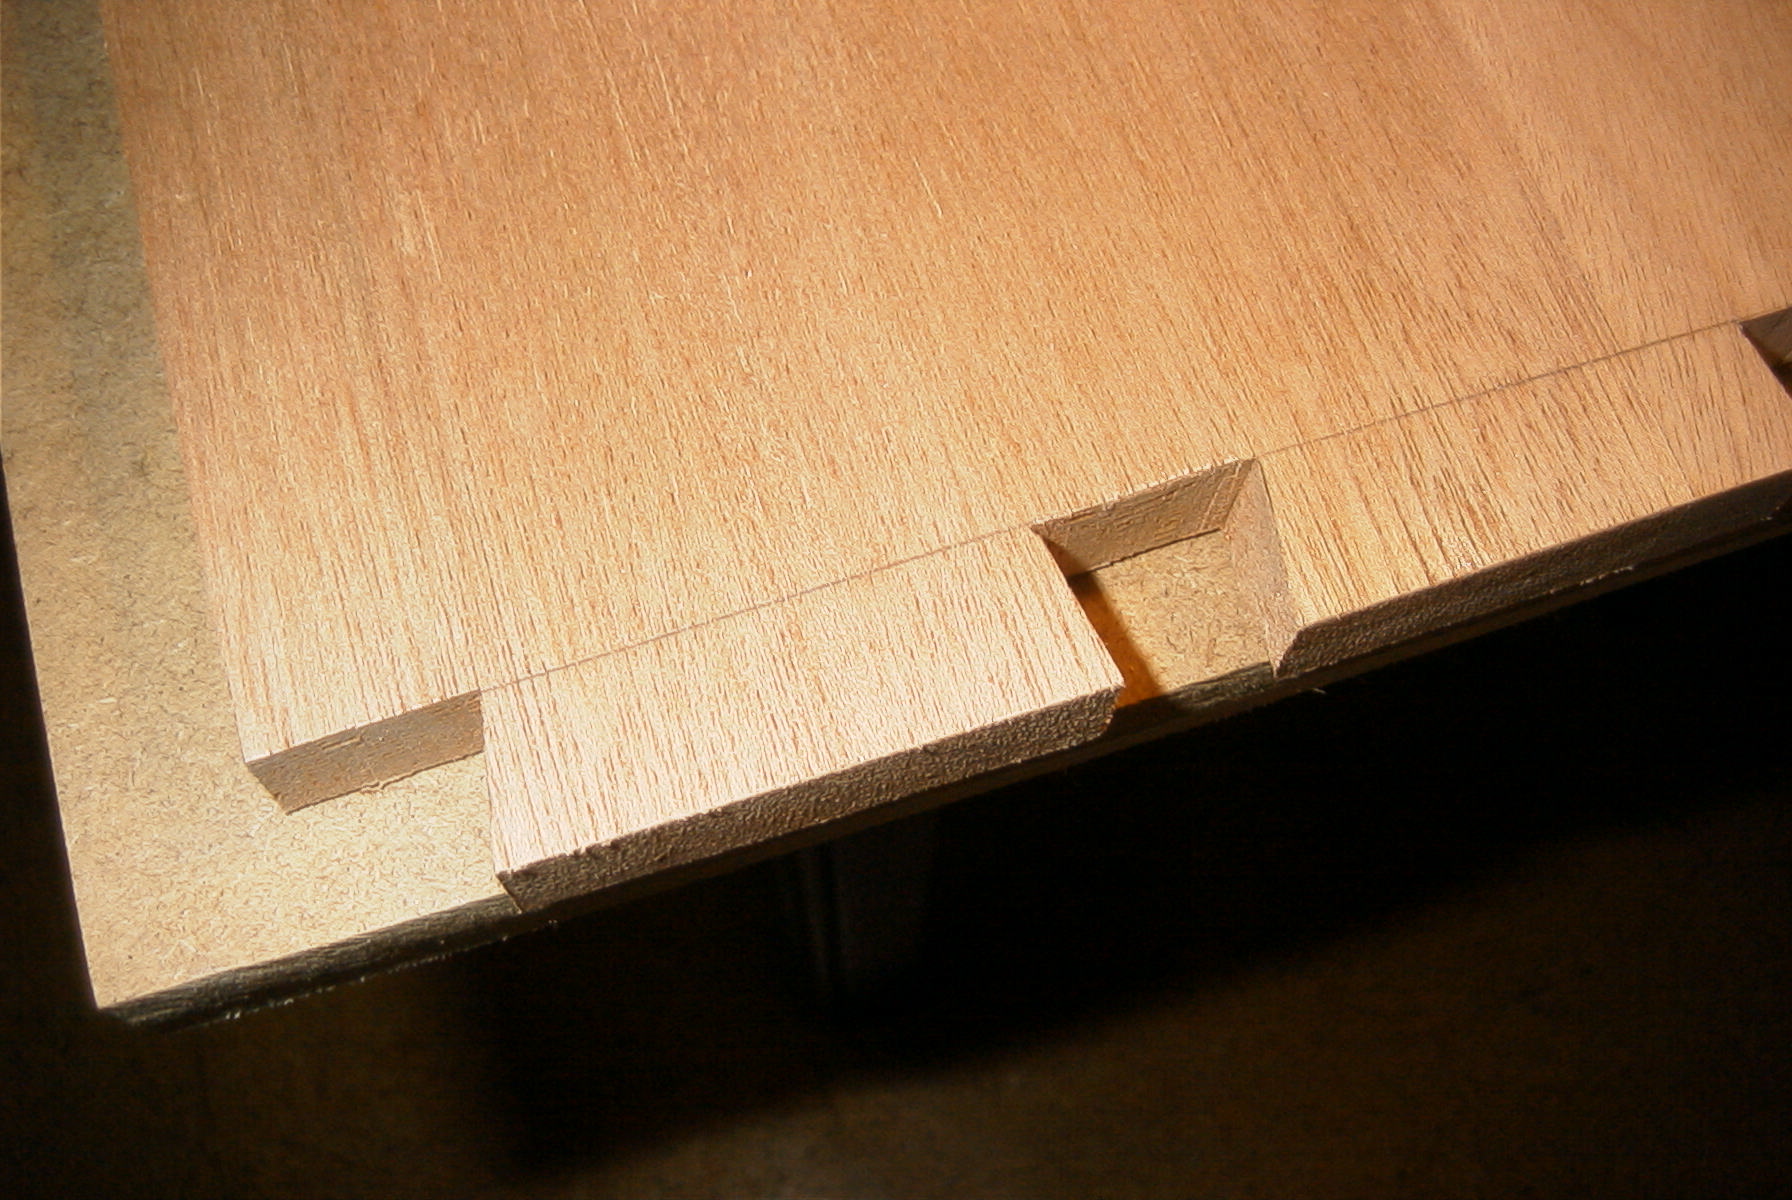
woodwork course. Note that I have scribbled on the parts I want cut away. This is always a good idea - trust me! | After marking out all the joints, use a gentleman's saw and a fretsaw to cut out most of the waste wood. The holes that I drilled (see previous picture) are to help the fretsaw get around the 90 degree bends. |

|
|
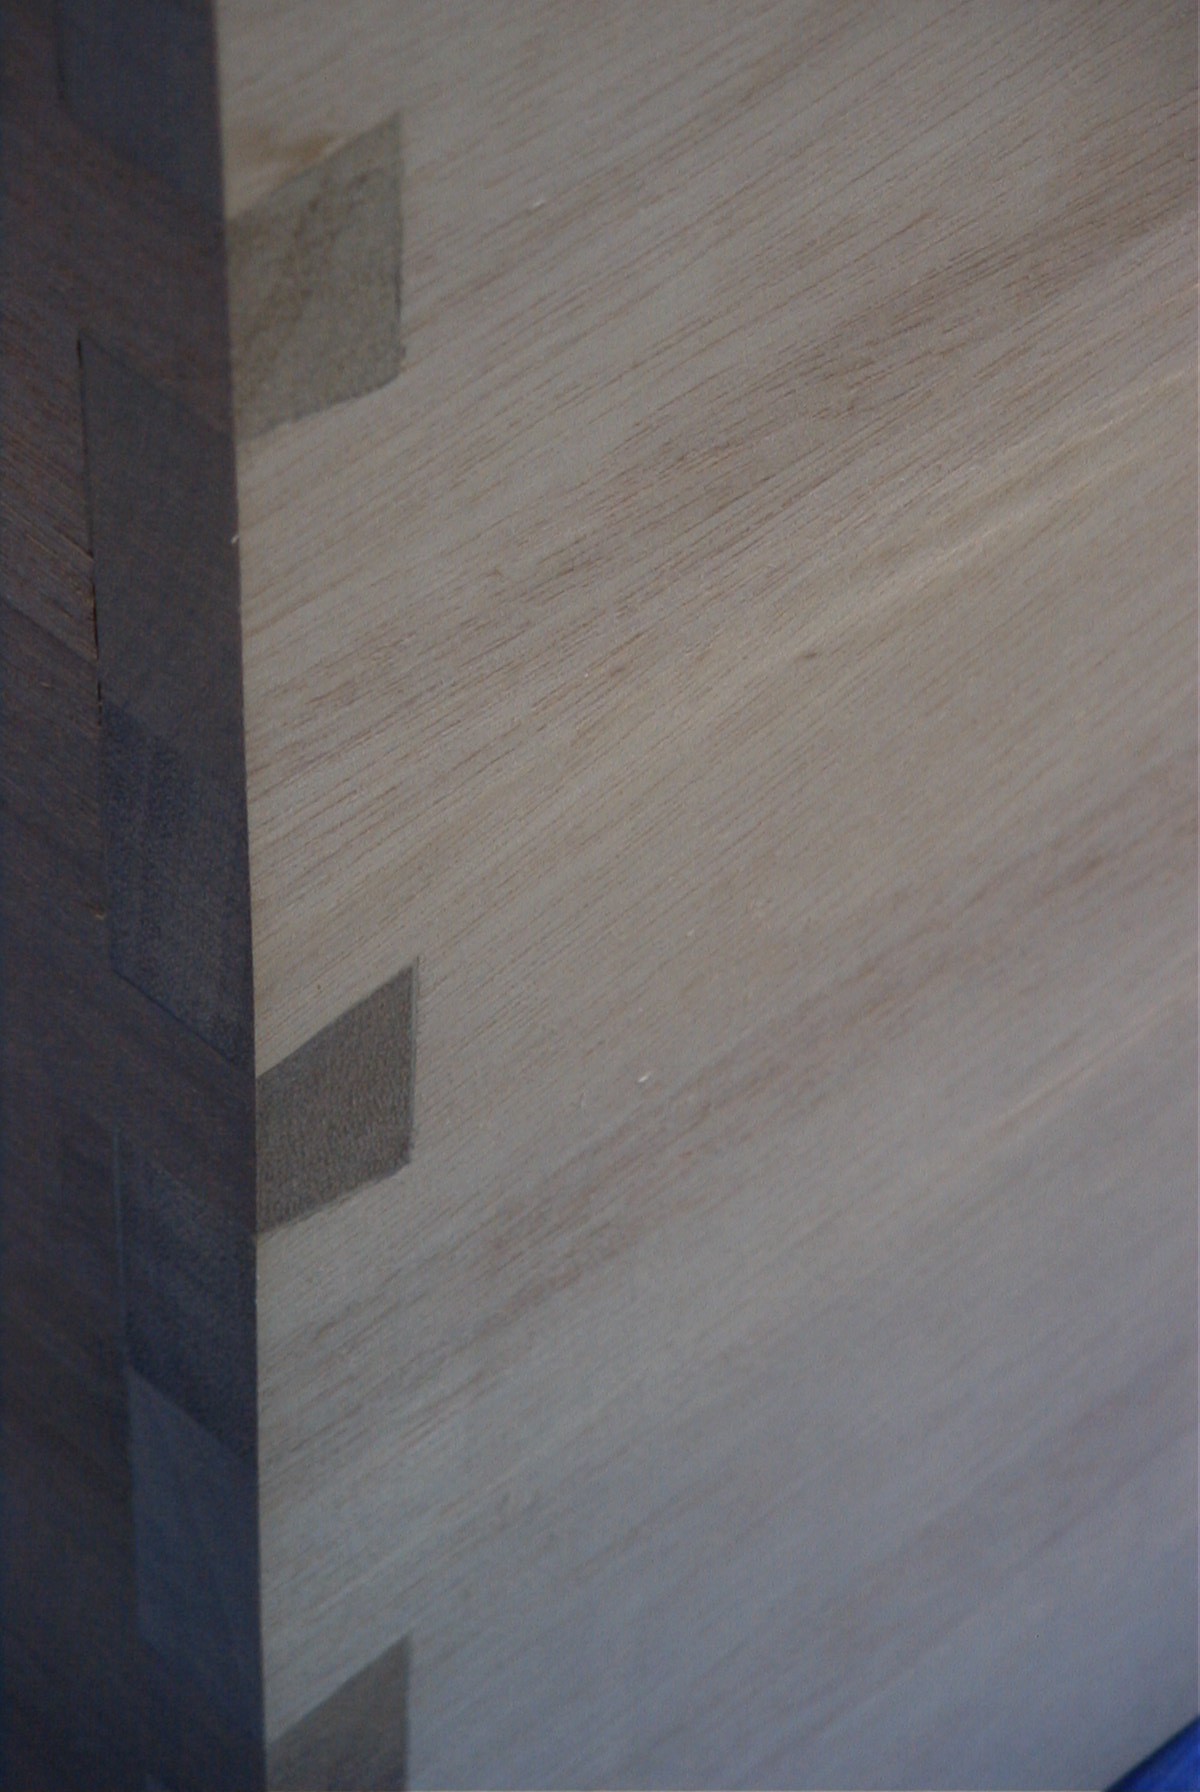
| The top two pictures show the pins and the lower two show the tails. | After most of the waste wood has been cut away, you use a chisel to cut away to the marked lines. |
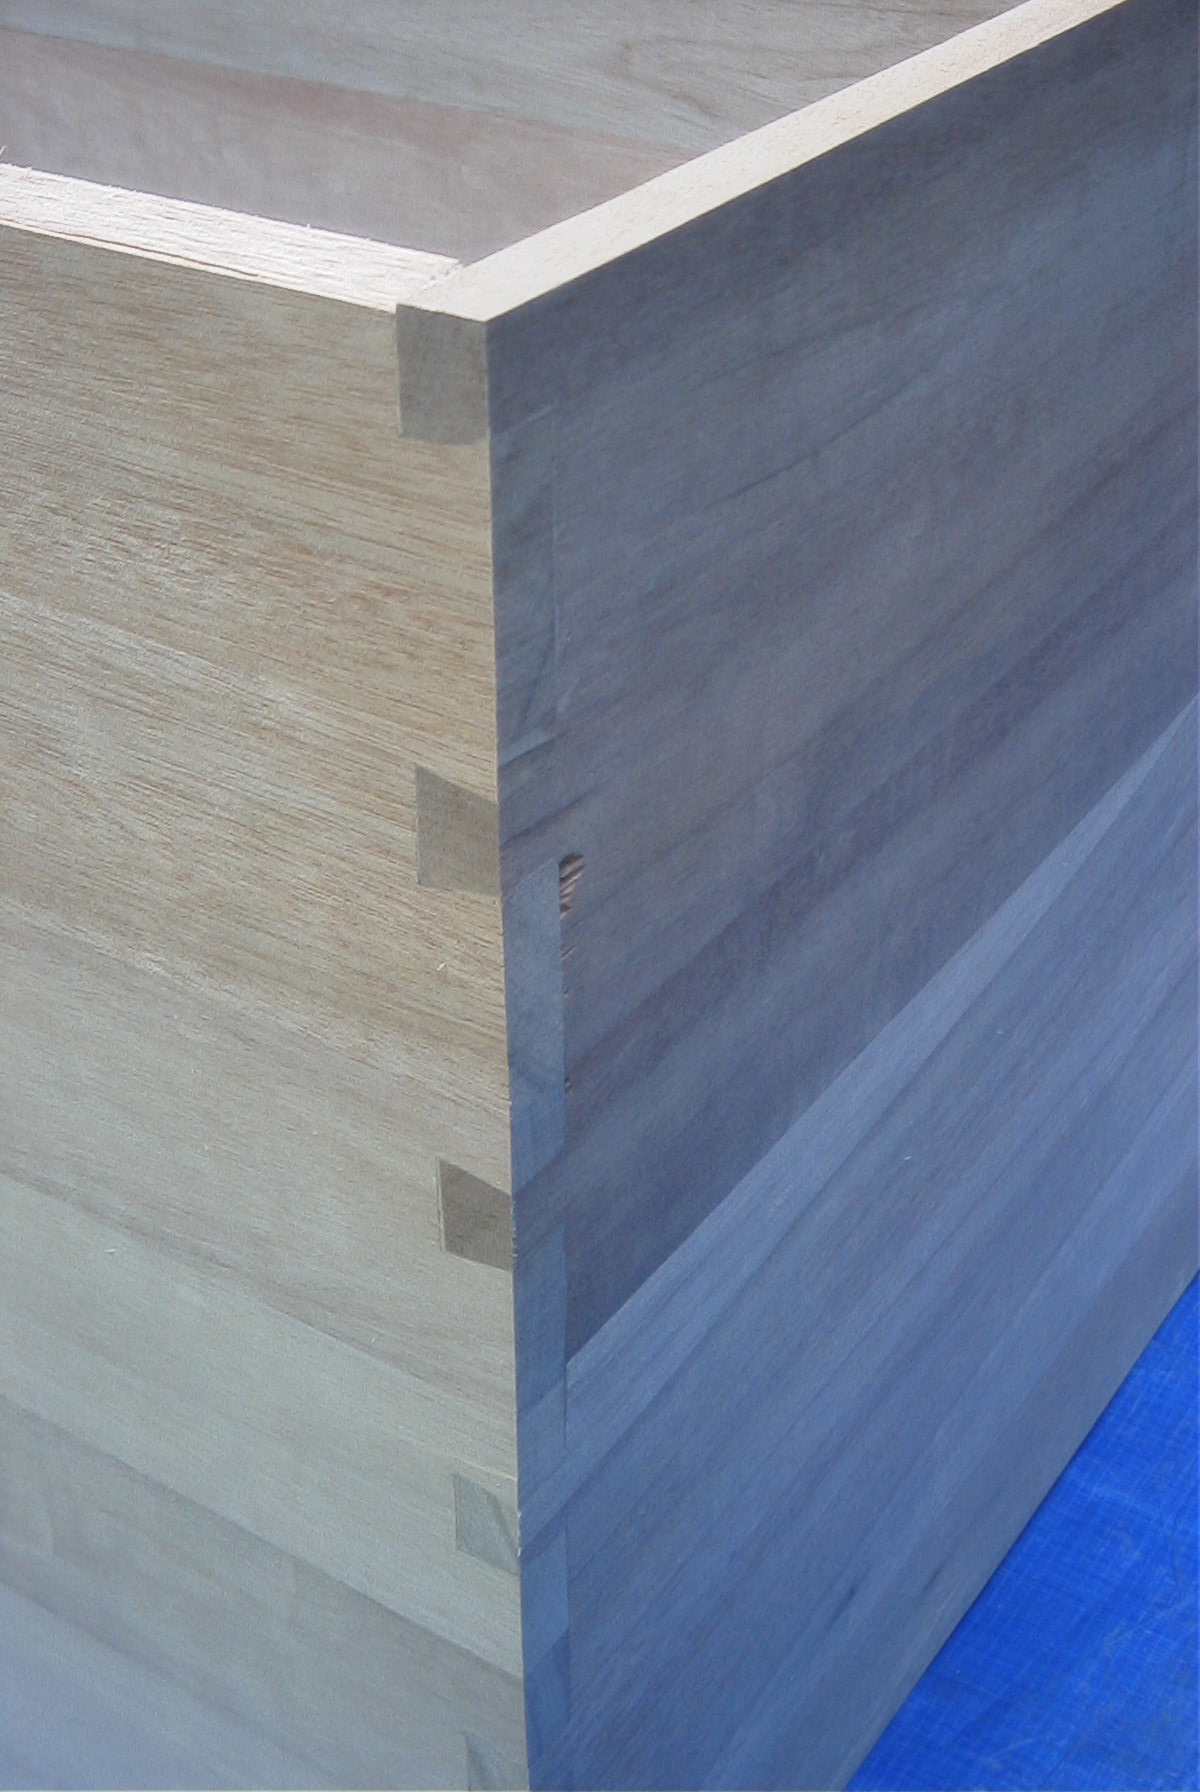
 Since the marking and cutting away was perfect, the four sides will join
together in a nice tight joint. Yeah, in your dreams! The boards will have
warped ever so slightly along with not 100% perfect joints, such that
joining them together will be "fun". Strictly speaking you should test all
joints out dry, to see what needs adjusting with some more chisel work. Then
you assemble with glue applied to the correct surfaces.
Since the marking and cutting away was perfect, the four sides will join
together in a nice tight joint. Yeah, in your dreams! The boards will have
warped ever so slightly along with not 100% perfect joints, such that
joining them together will be "fun". Strictly speaking you should test all
joints out dry, to see what needs adjusting with some more chisel work. Then
you assemble with glue applied to the correct surfaces.
I was concerned that if I fitted the sides together, I would not be able to disassemble them in order to apply the glue. Therefore, what I did was line up each pair of sides to see if an assembly was plausible and trim off what was causing problems. When it came to the assembly I used my big clamps to help some of the joints that were a bit too tight. It's important to make sure that the carcass is square before the glue begins to set.
Initially, they won't look too pretty, but after the application of a small
amount of filler and some more sanding you will get some nice looking
dovetail joints.
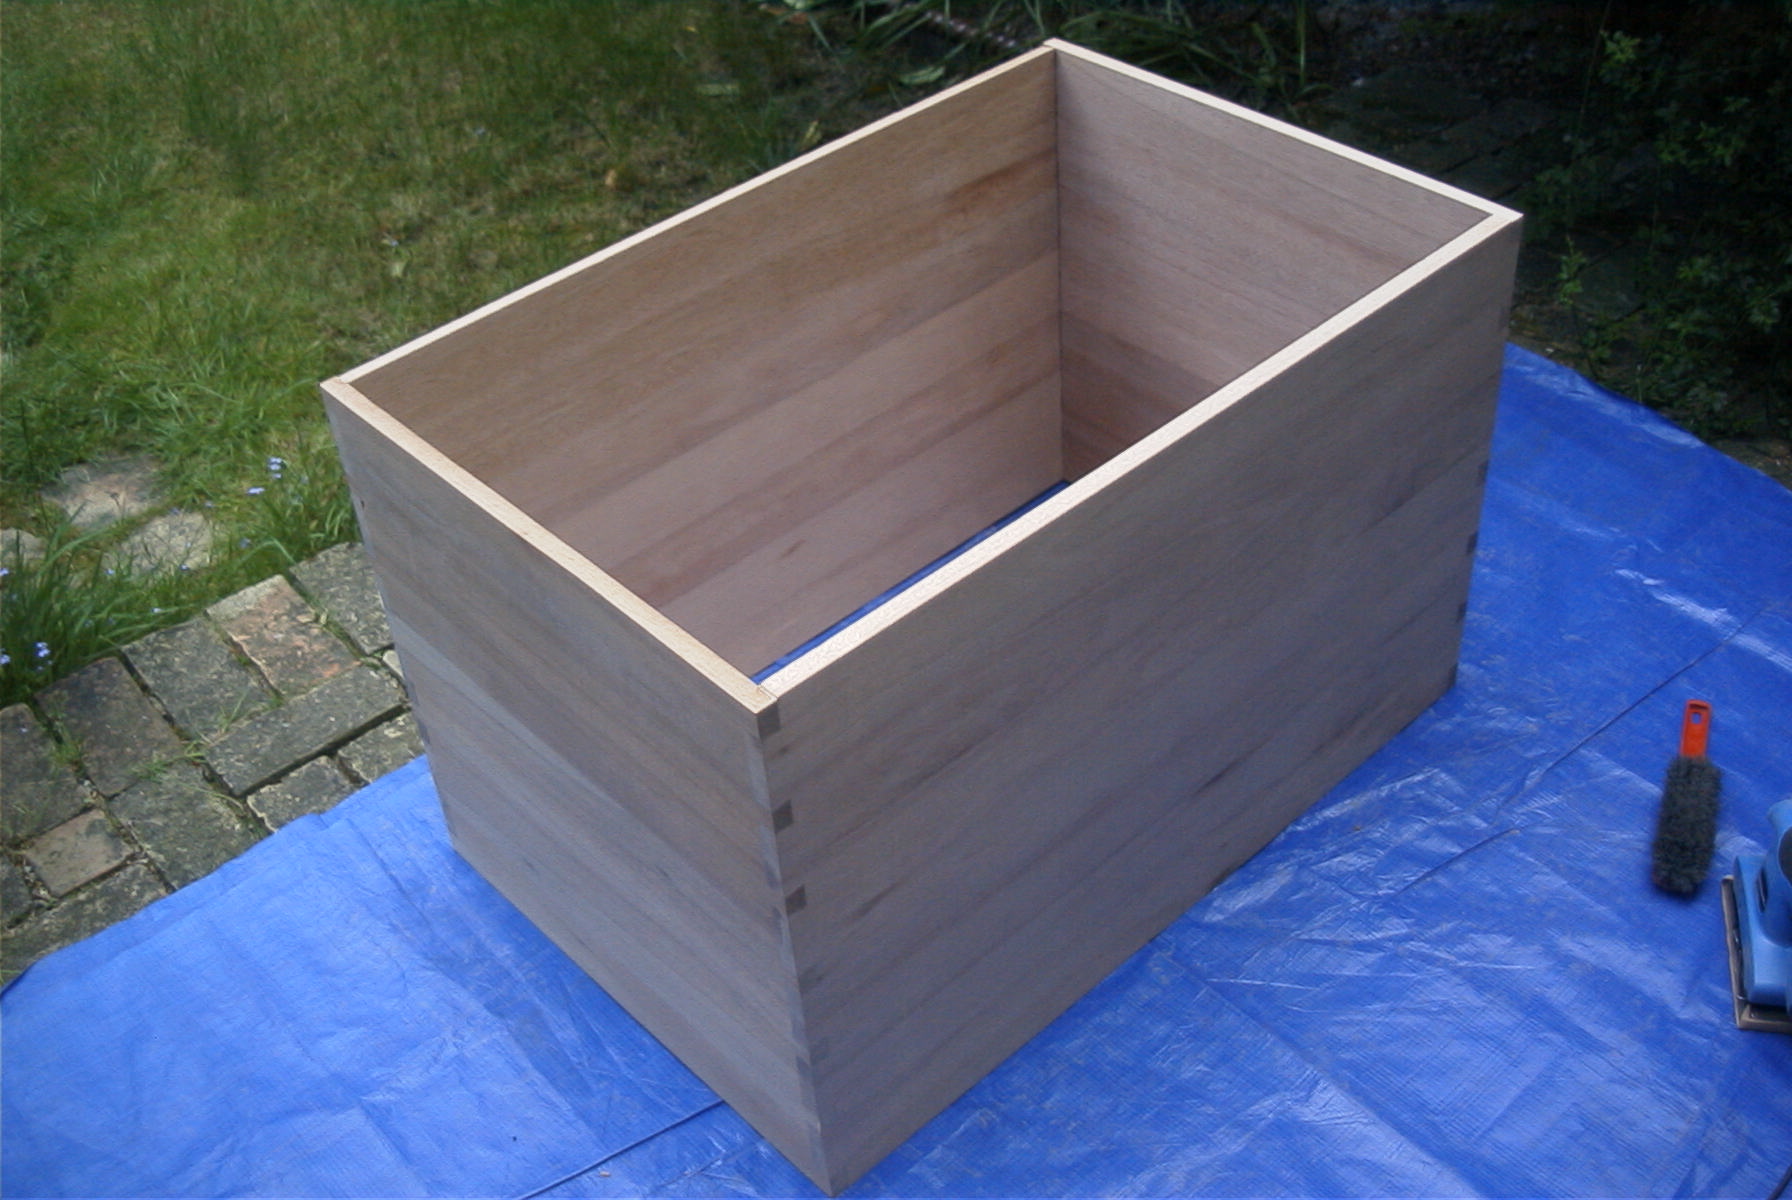
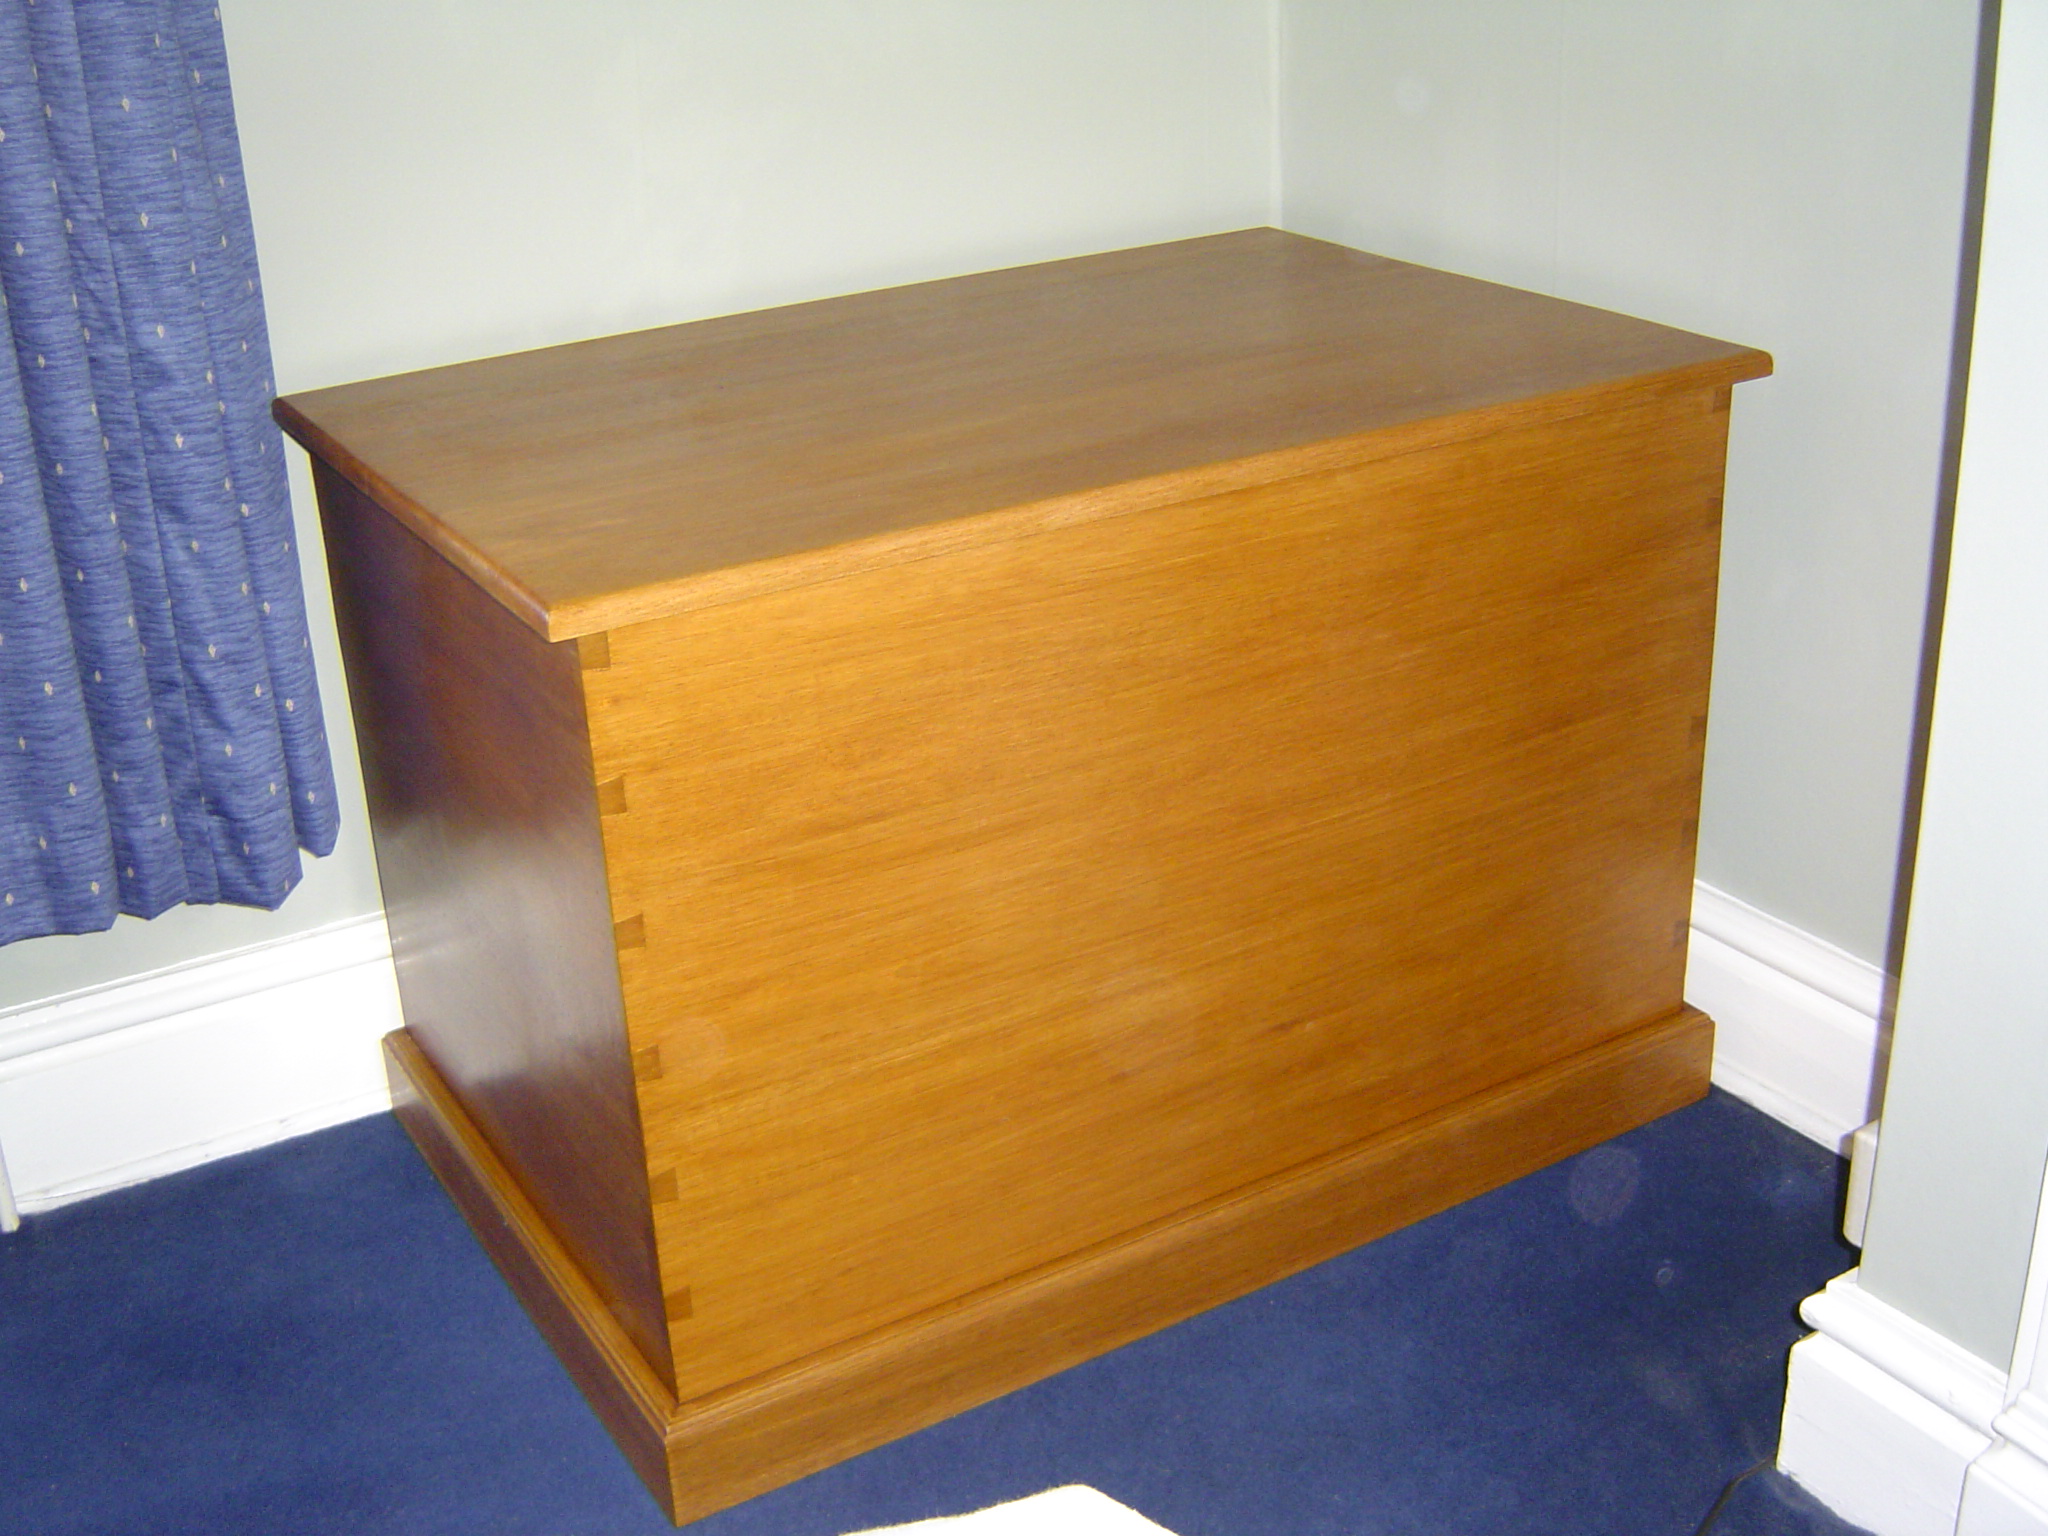
| The carcass really did end up square! |
|
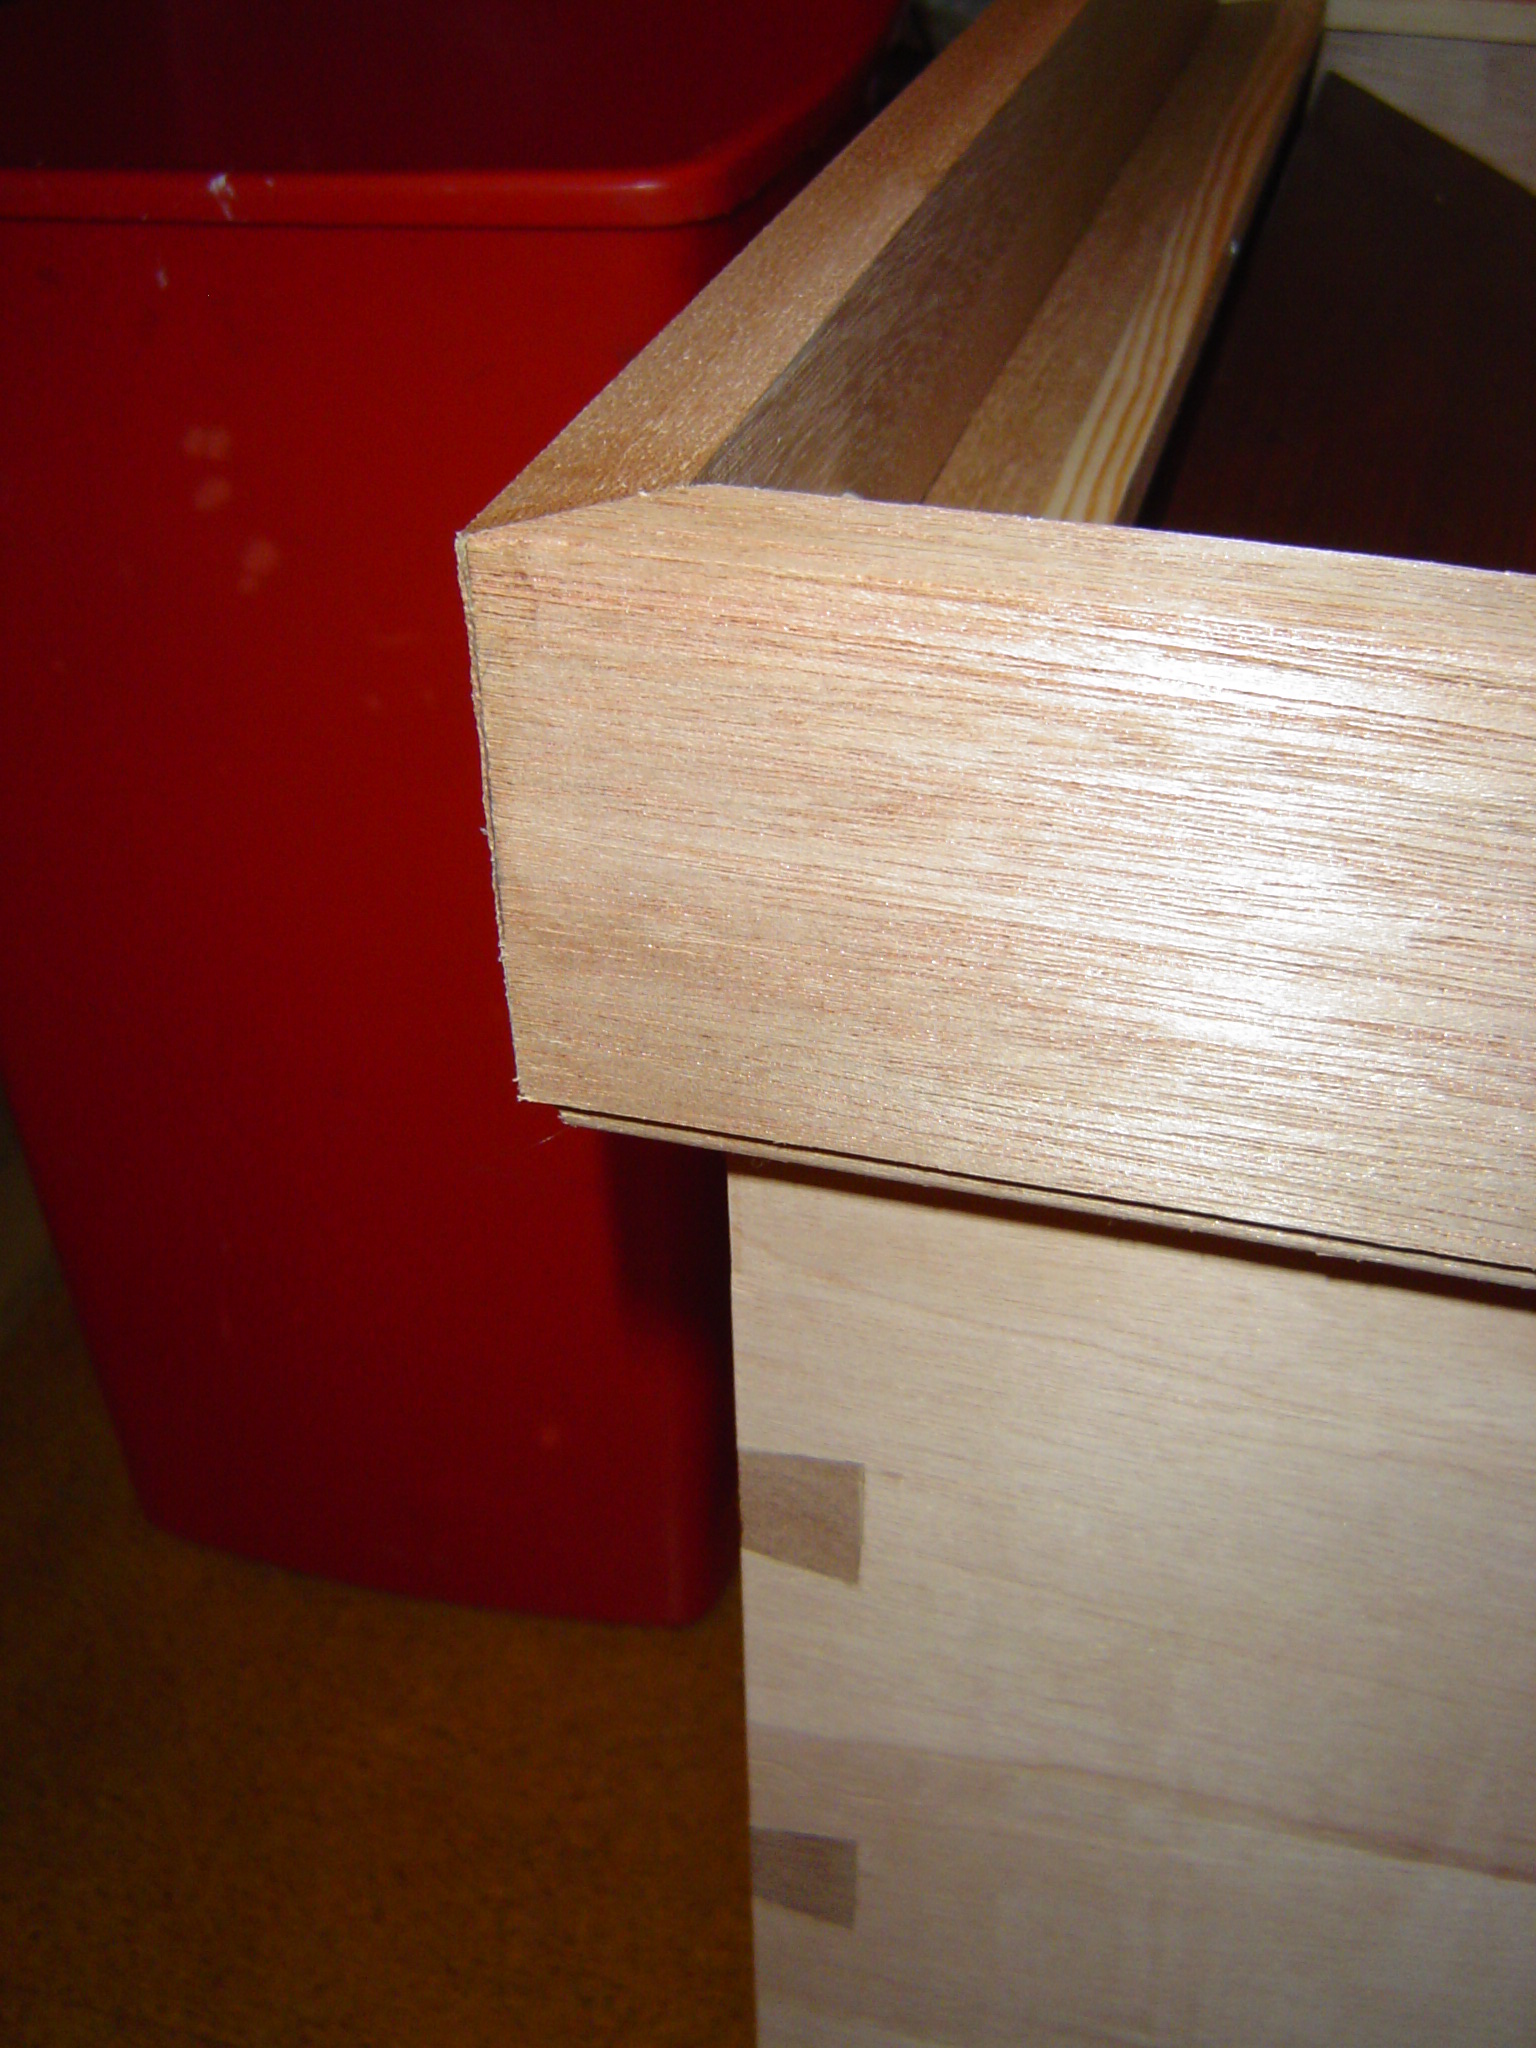
Around the bottom of the carcass goes a skirt. This has
simple mitre butt joints with a screwed block holding them together
(not seen in picture).
There is a trick to making mitre joints look good. Even with the most careful of sawing, you won't get perfect contact on some of the corners. You put glue into the gap (or even filler if it is a really big mistake) and then draw the shaft of a screwdriver along the edge of each board, close to the plane of the board, so that the ends get bent slightly and meet. Wipe away the excess glue and a little sanding when dry will give the impression of a perfect mitre joint. |